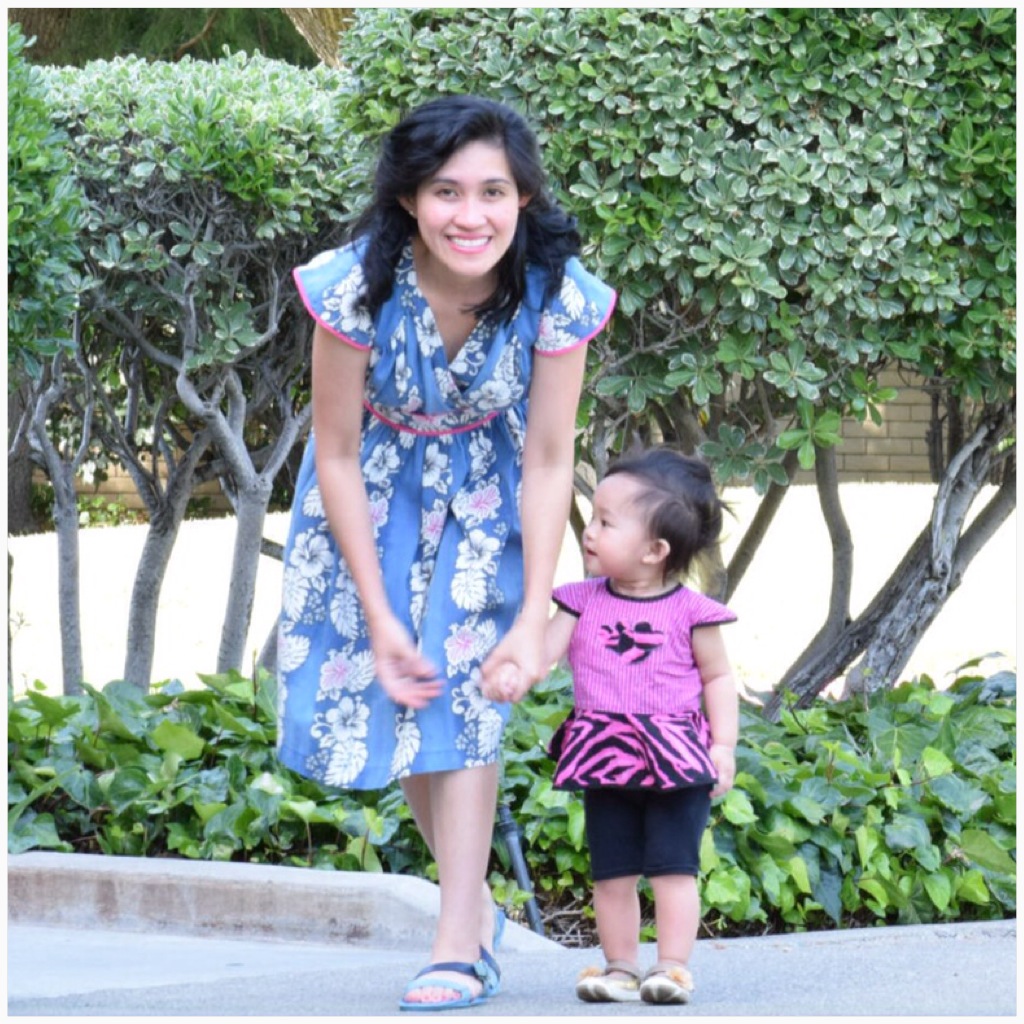
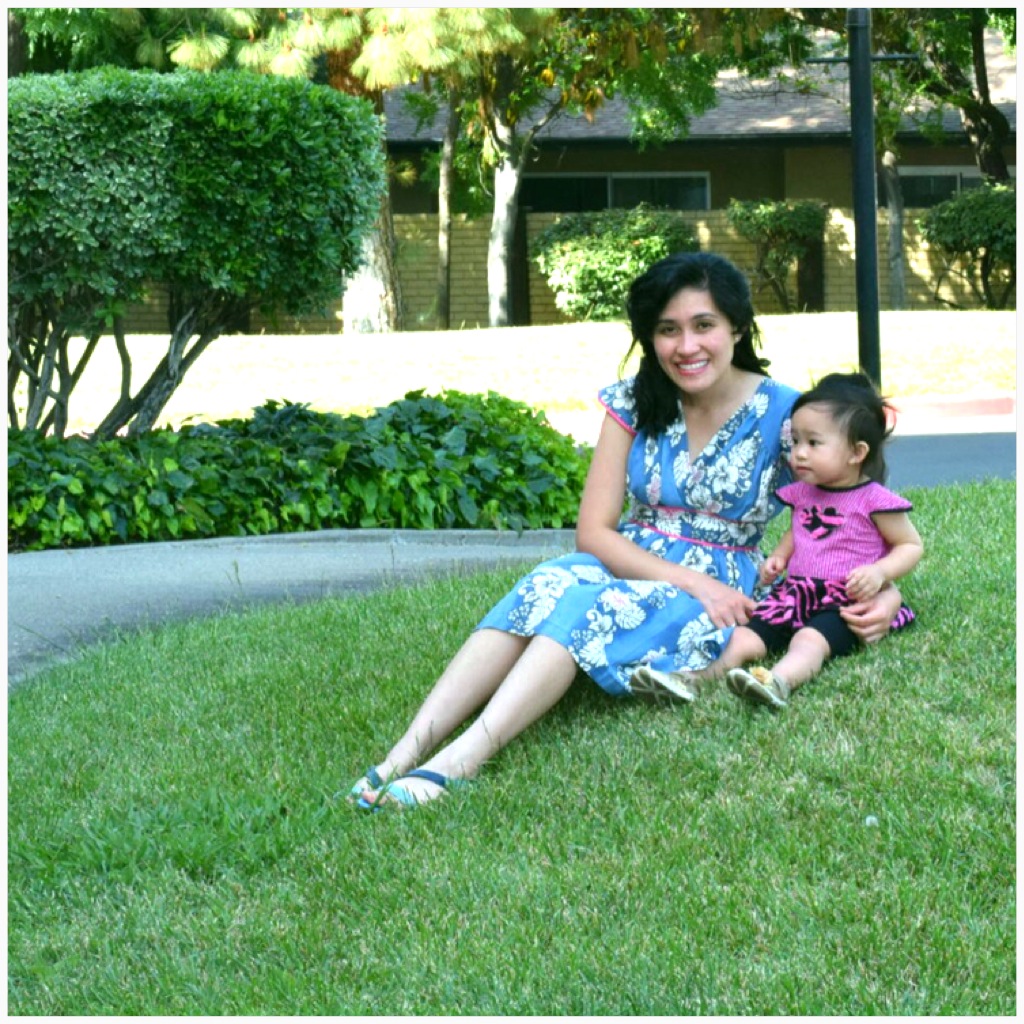
You are probably wondering where I have been…

Last summer, I started to notice that the more I focus on being a mom and giving my little one extra time, the happier and more cheerful I was. I started to feel a little relaxed even. Last year most of my mental creative focus went to my machine and all my extra time and energy too. You would see me running into my sewing space with my daughter on my lap or during nap times, hushing my daughter as she tried playing with me and I was typing away at my computer. Admittedly, I started to feel guilty. Sewing and blogging was at one point my obsession and passion but as Nia turned into a toddler, it became more of a chore. A nagging in the back of my mind. I’ve always felt fulfillment from it that’s why I still stuck with it. But I wanted to feel what it was like to just be a wife and mom one hundred percent. No sewing, blogging and social media. Just focus on being a wife and mom. I just wanted to relax and let go for a month or two see how I feel, just test it out. And my conclusion… I gained perspective and appreciation. Modesty aside my daughter, as early as 2 yrs old can “read” (blend a 3 letter-word) and can already count up to fifty. I felt accomplishment with being a mom.
I thought of letting go of my passion. But, in the last few days, I’ve been itching to do projects, to sew, to share my projects. I’ve misssssssed it. I want to love being a mom and being a diy blogger at the same time. I do feel accomplishment with being a mom, but I need my creative outlet back. So, I’m back. I have to. But, I don’t think I can commit my 100% at it. I decided to stick with my priority and that is being a mom and wife and do what I love in my spare time. Sure you could hear from me every now and then sharing my projects with you all.
Halloween was a blast we spent the day with the Days as they threw a baby shower Halloween themed party. We had a lot of fun with the games. The food?… outstanding! and of course by just being with the relatives alone was magical. We even won the “Best Halloween Costume” haha!

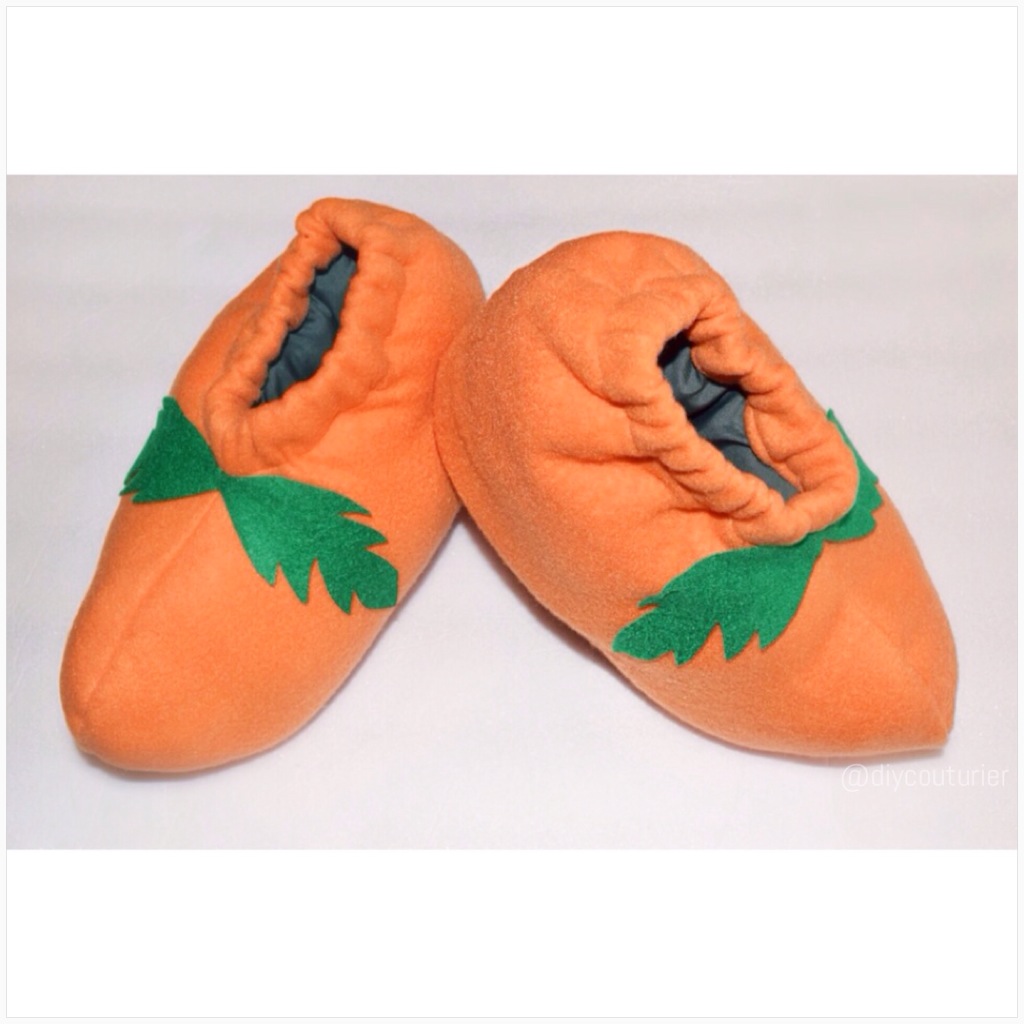
Since Nia has this pumpkin costume lying around in the house I had to make one for my self to match her. I made us some matching shoes as well.
![IMG_5474[1]](https://sealedwithastitch.files.wordpress.com/2014/11/img_54741.jpg)
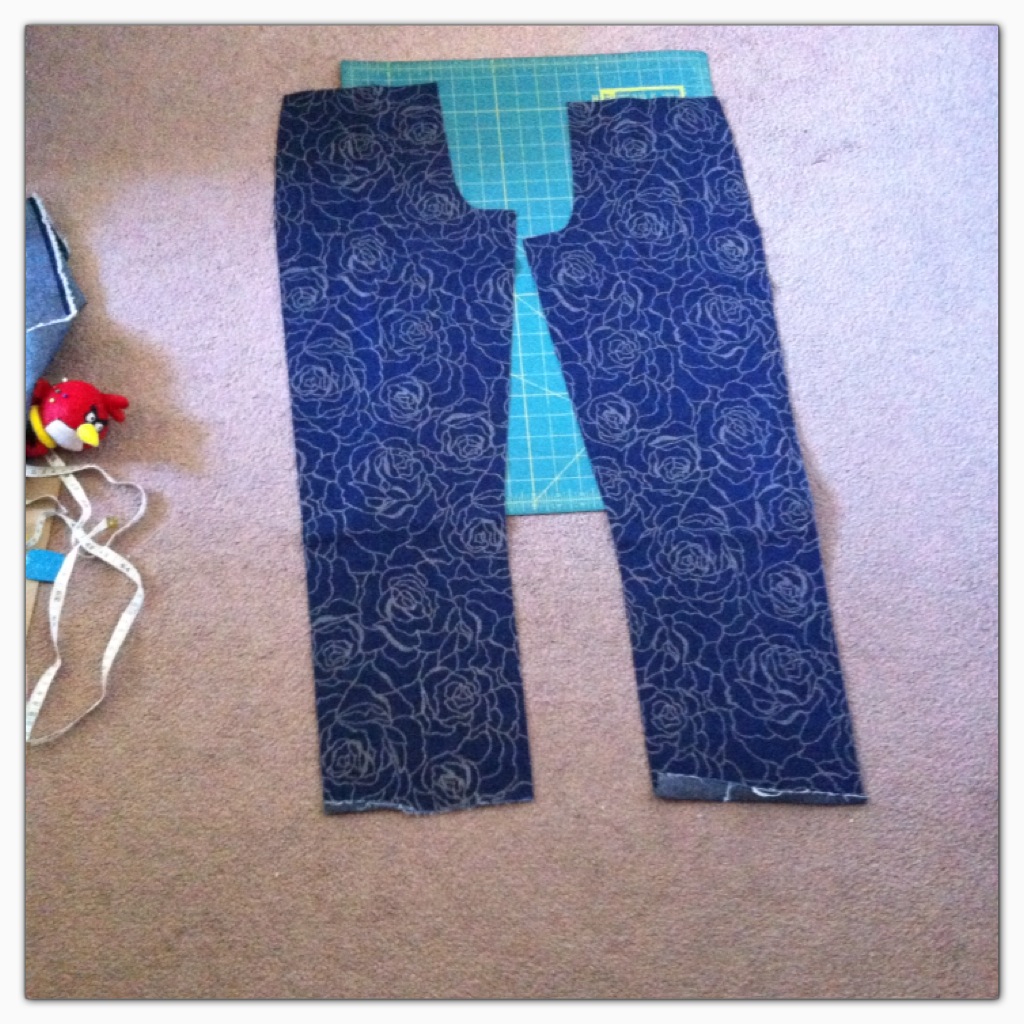
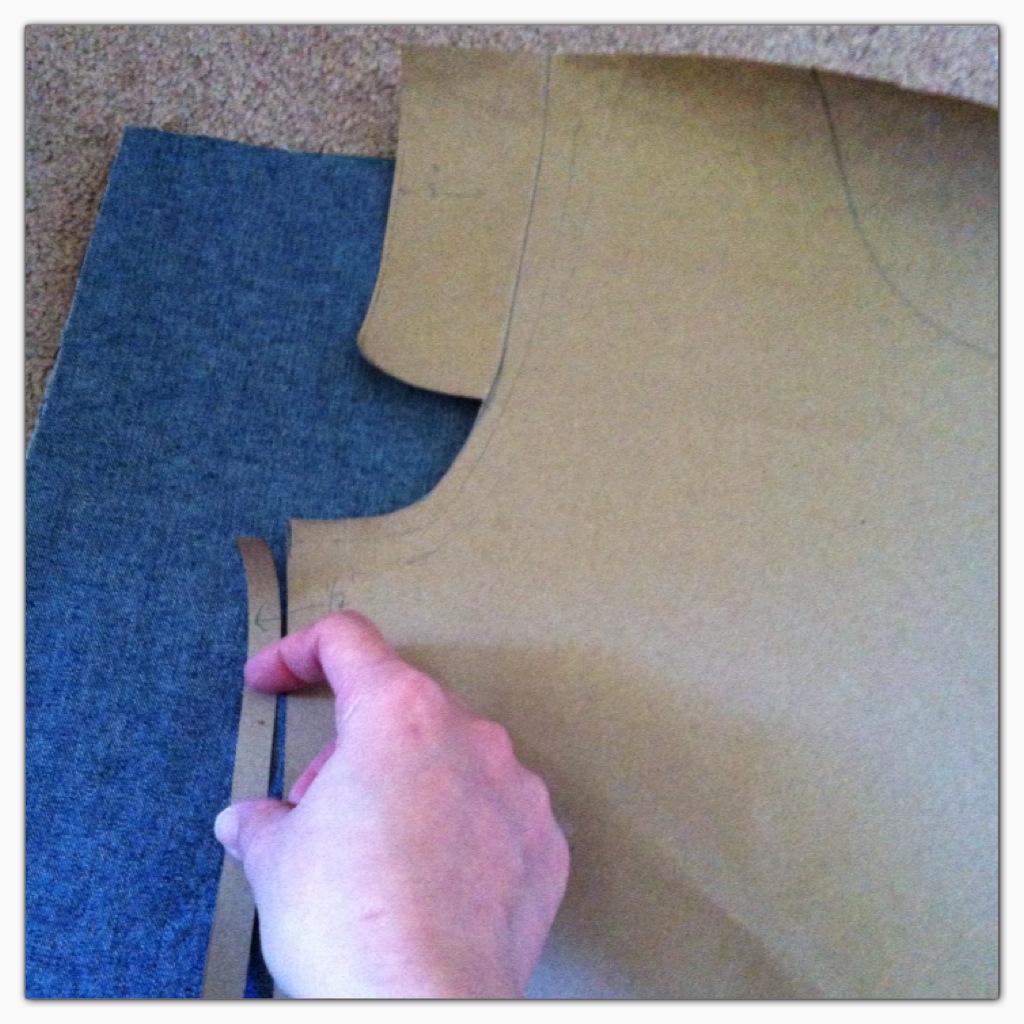
I enjoyed making the shoe pattern. I thought it’s clever as winter is fast approaching. They were stuffed and are incredibly comfy. The soles are nonskid which is perfect for my very active toddler.
![IMG_5472[1]](https://sealedwithastitch.files.wordpress.com/2014/11/img_54721.jpg)

![IMG_5471[1]](https://sealedwithastitch.files.wordpress.com/2014/11/img_54711.jpg)

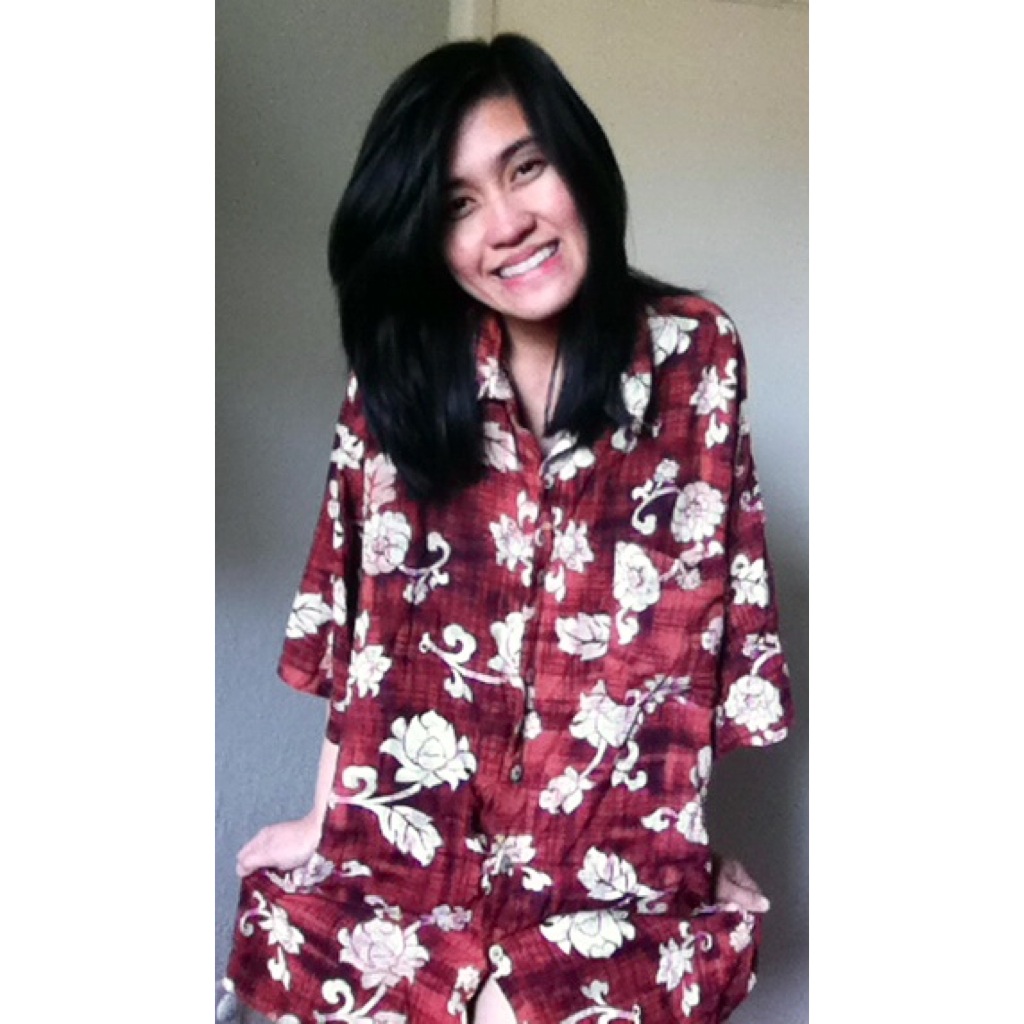
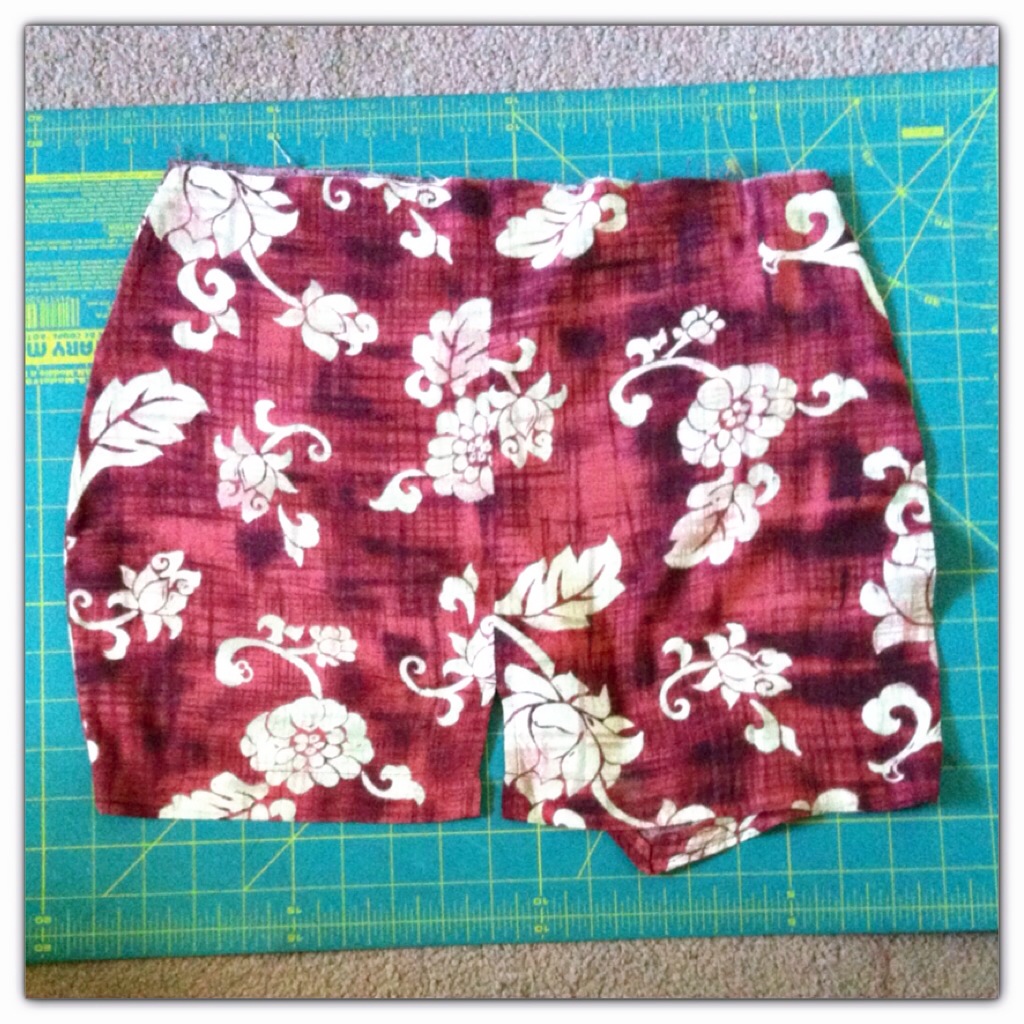
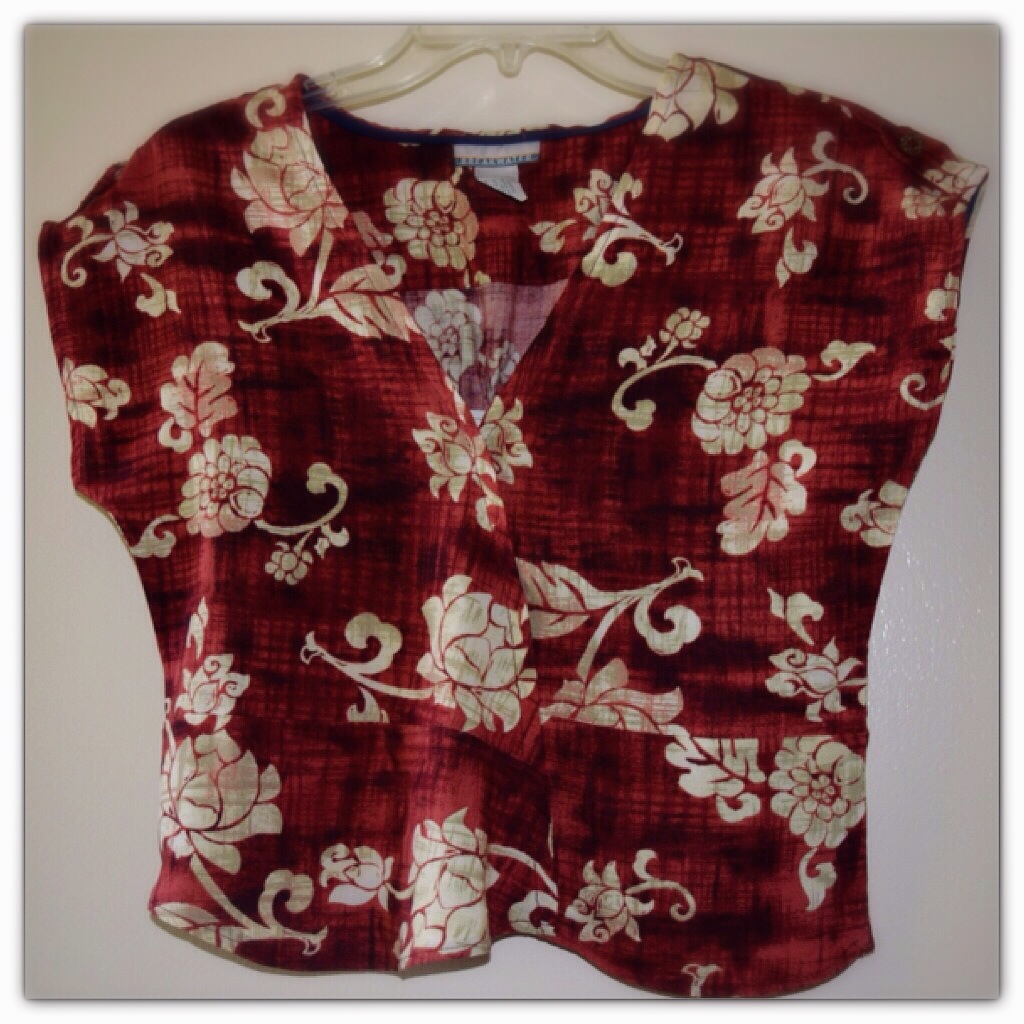
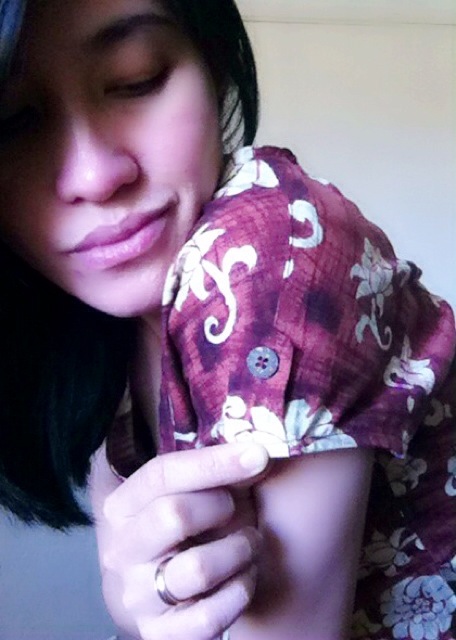
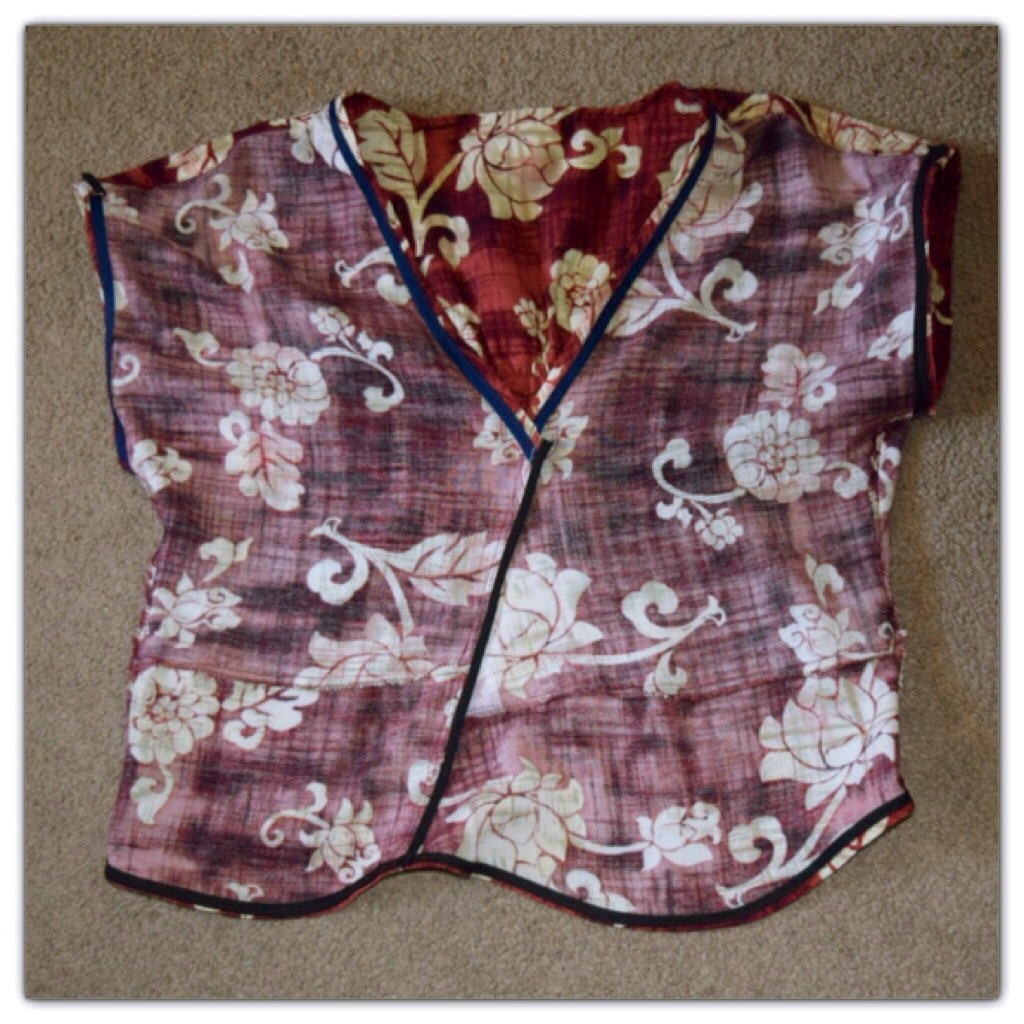
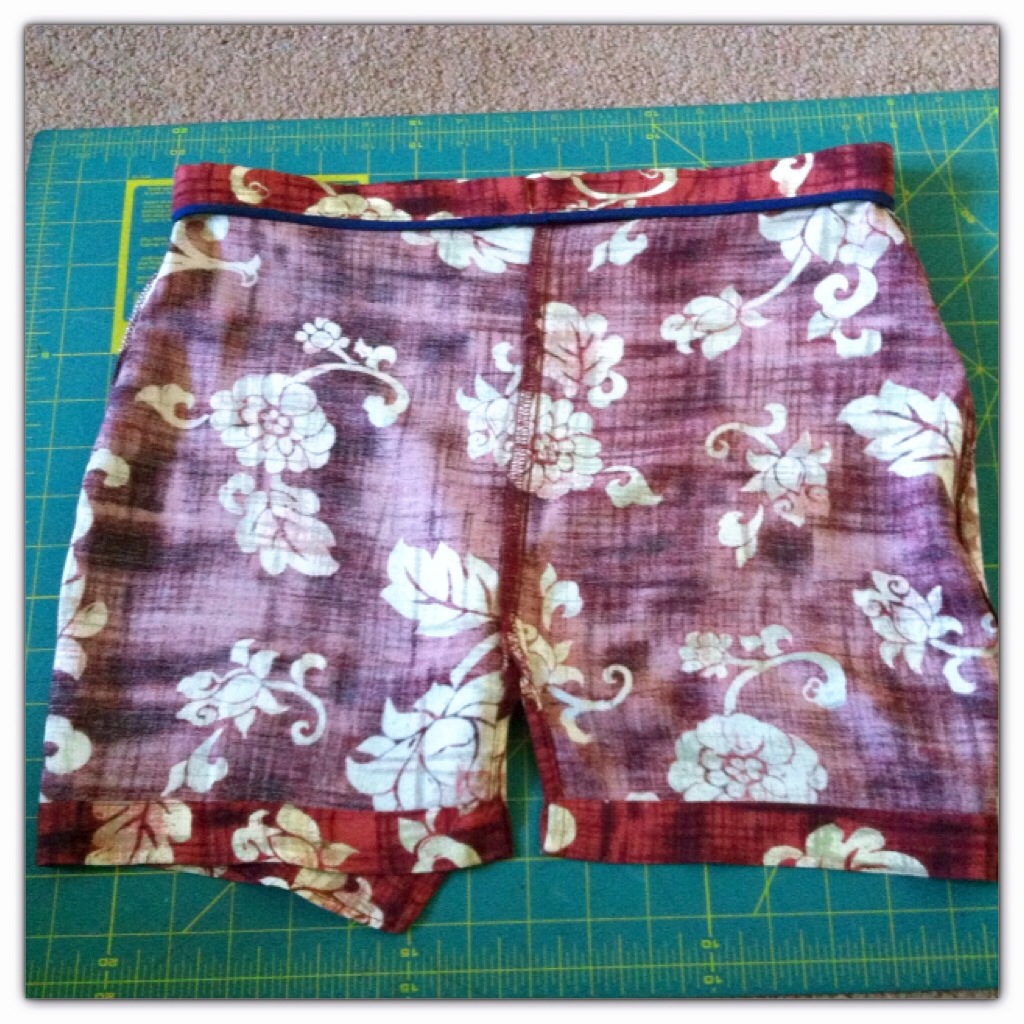
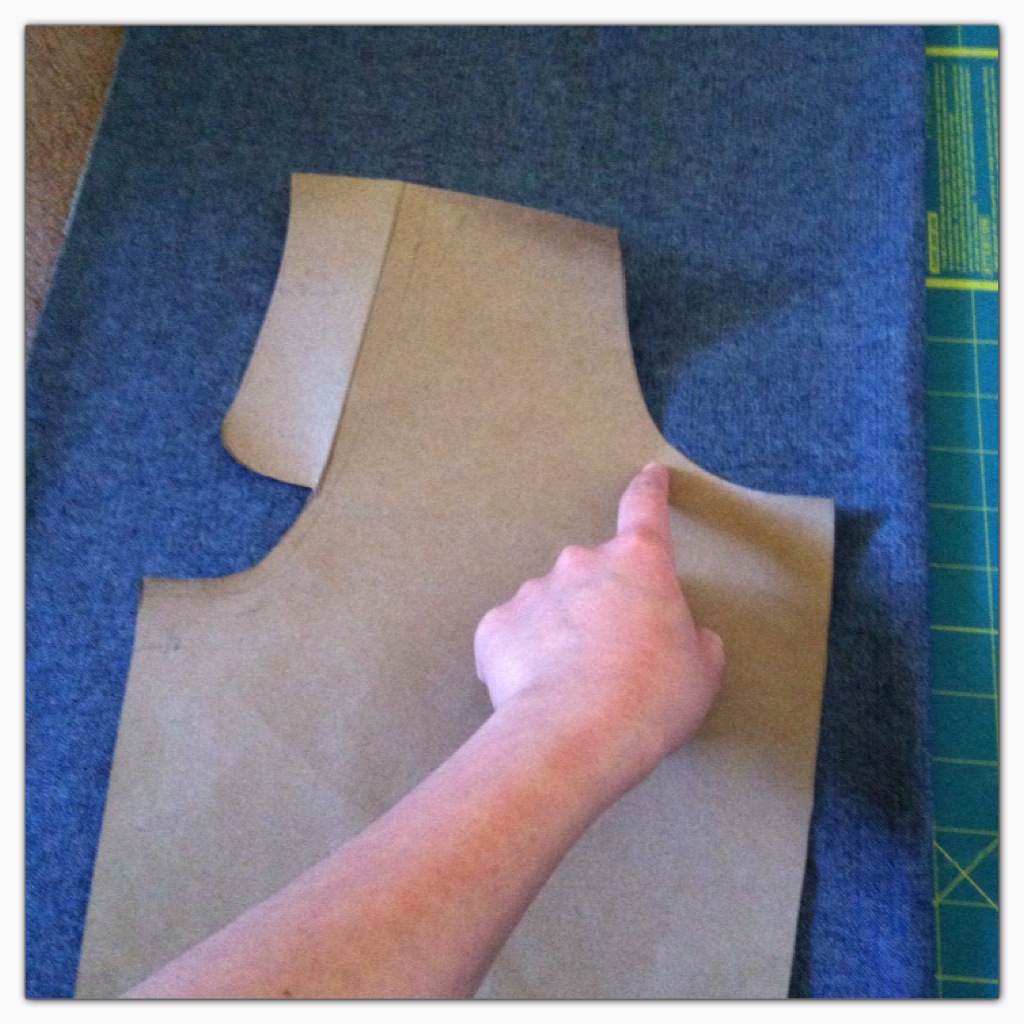
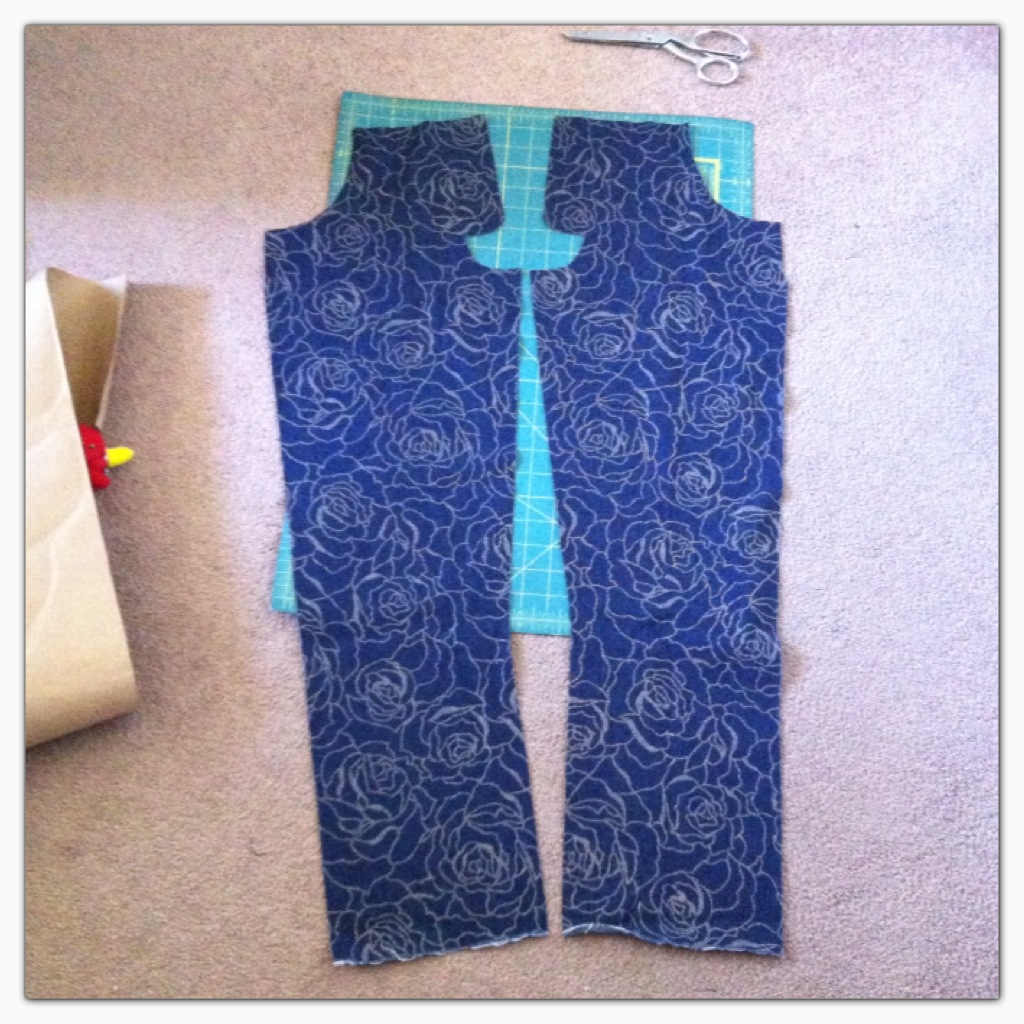
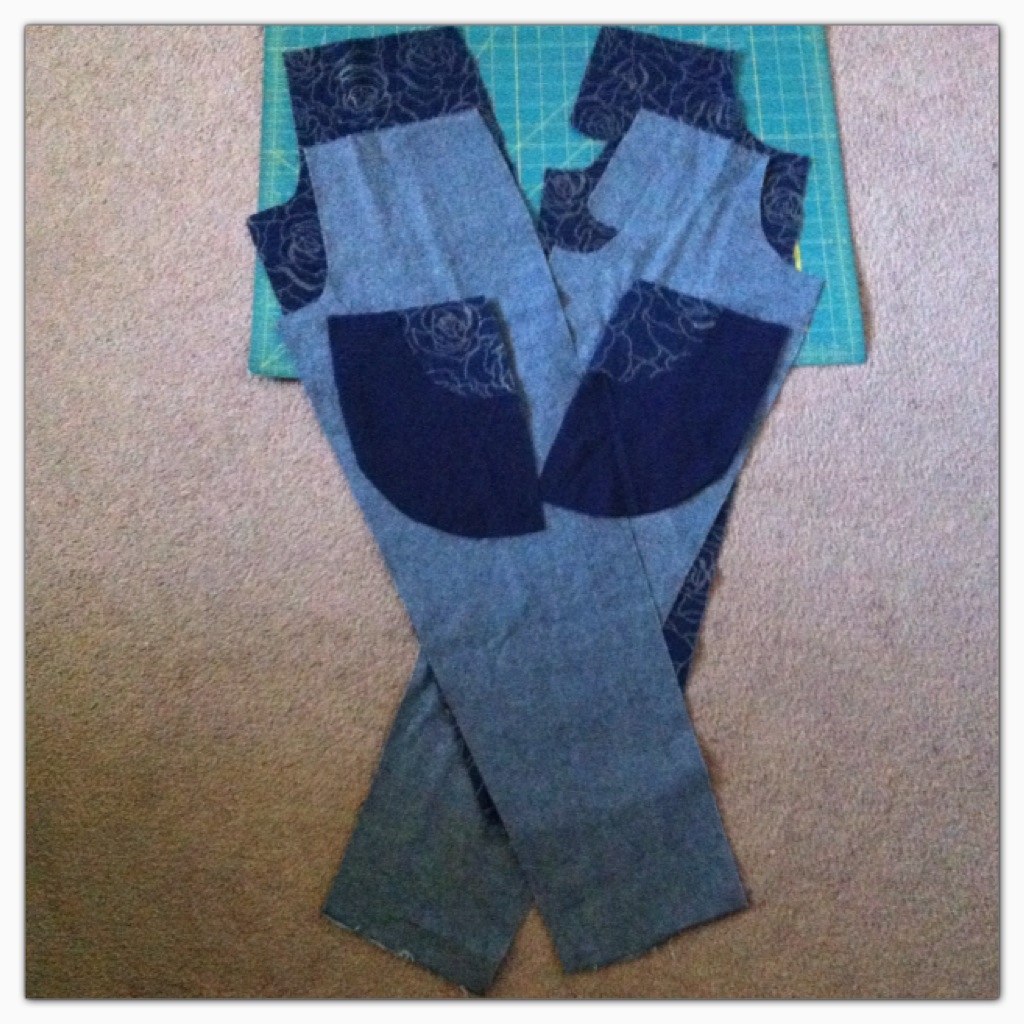
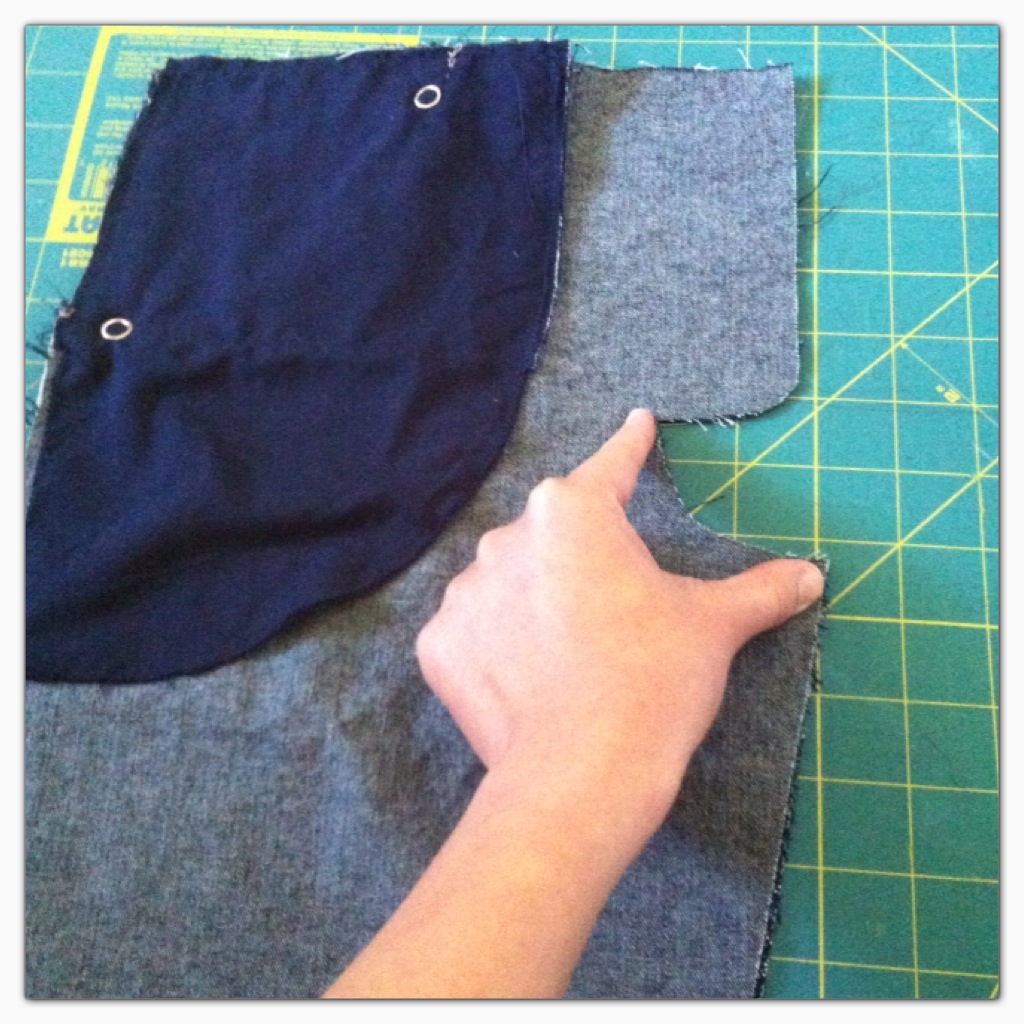
My costume was extremely simple and insanely easy to make. I just had to trace my old non fitting shirt and shorts on and this pattern was born…

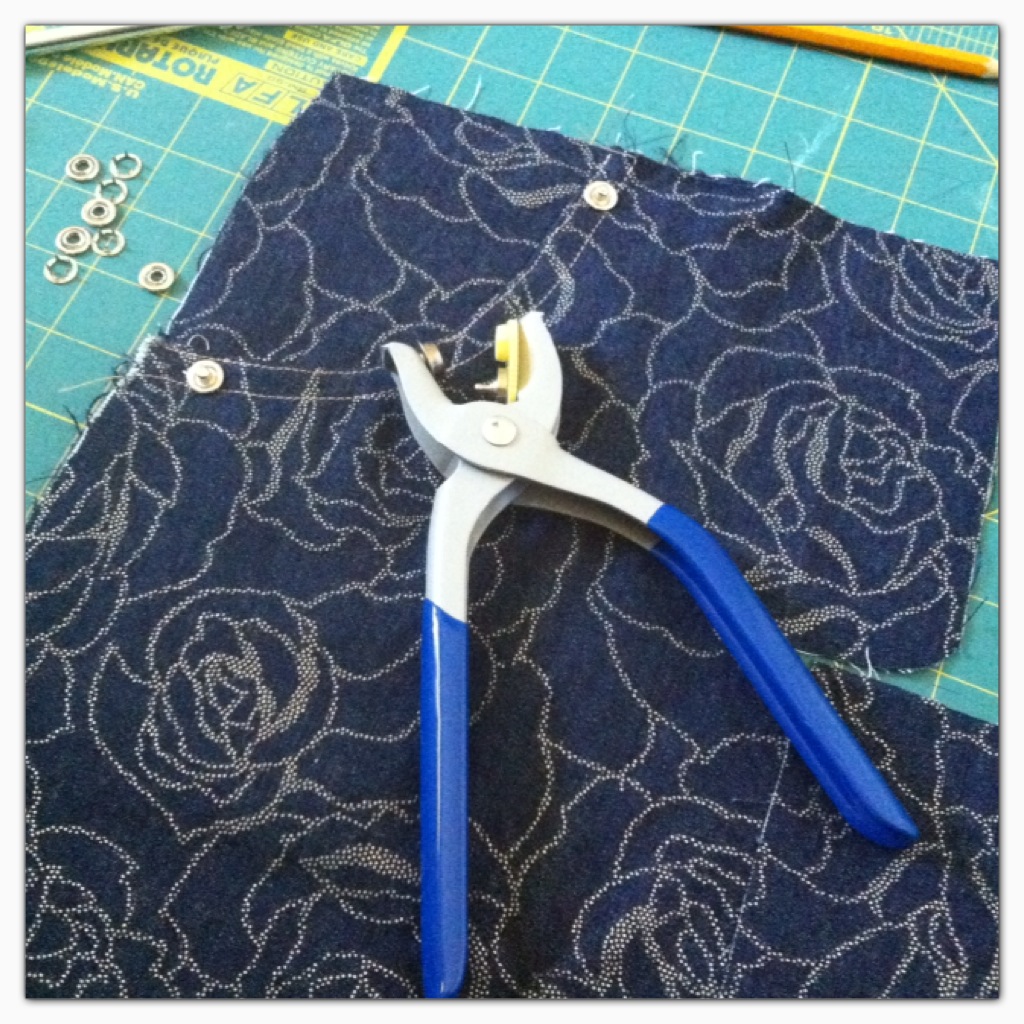
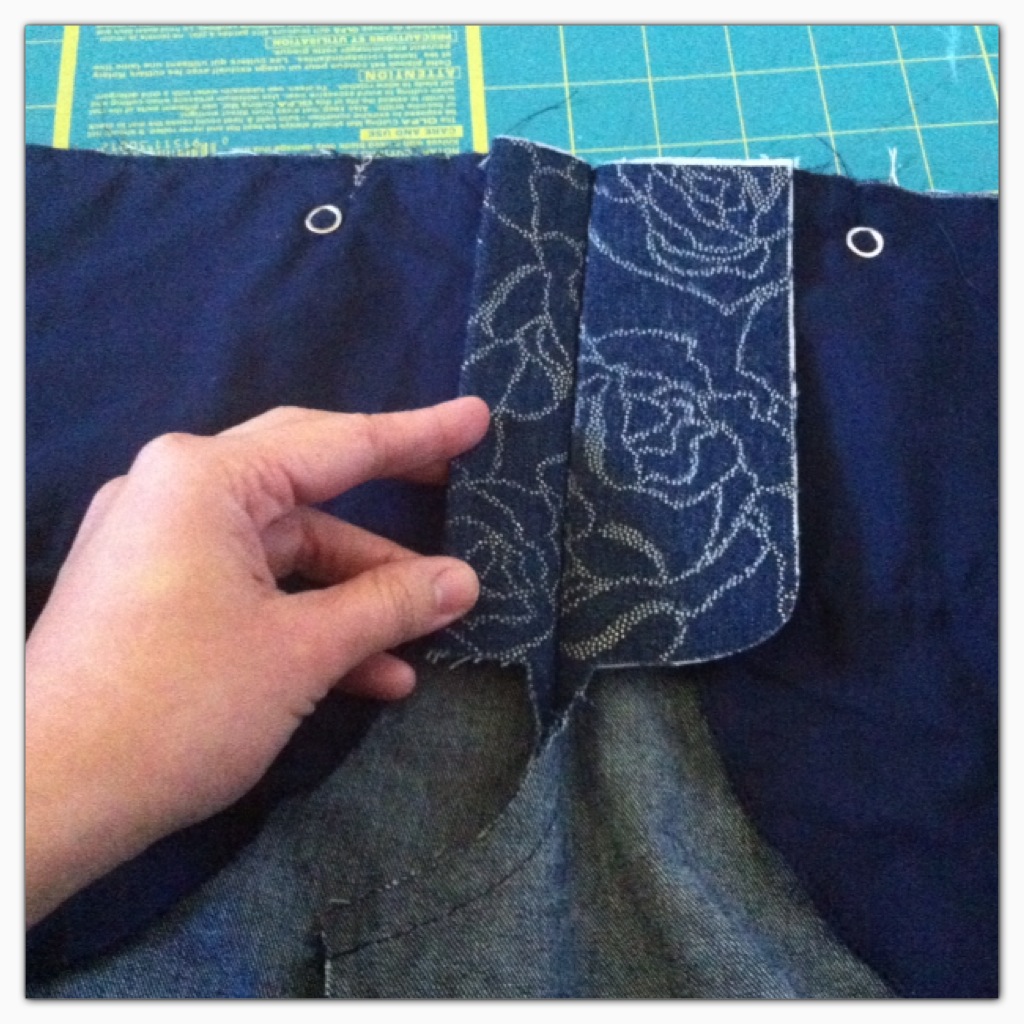
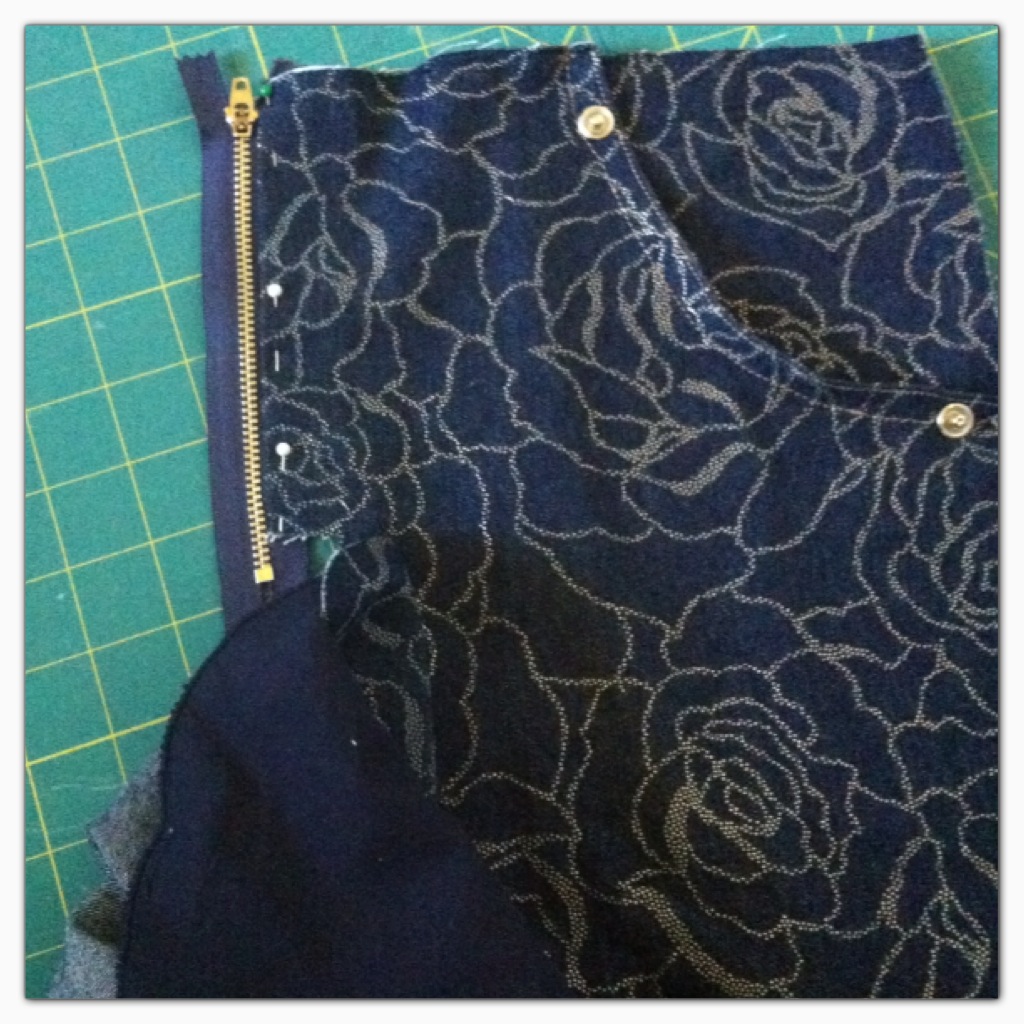
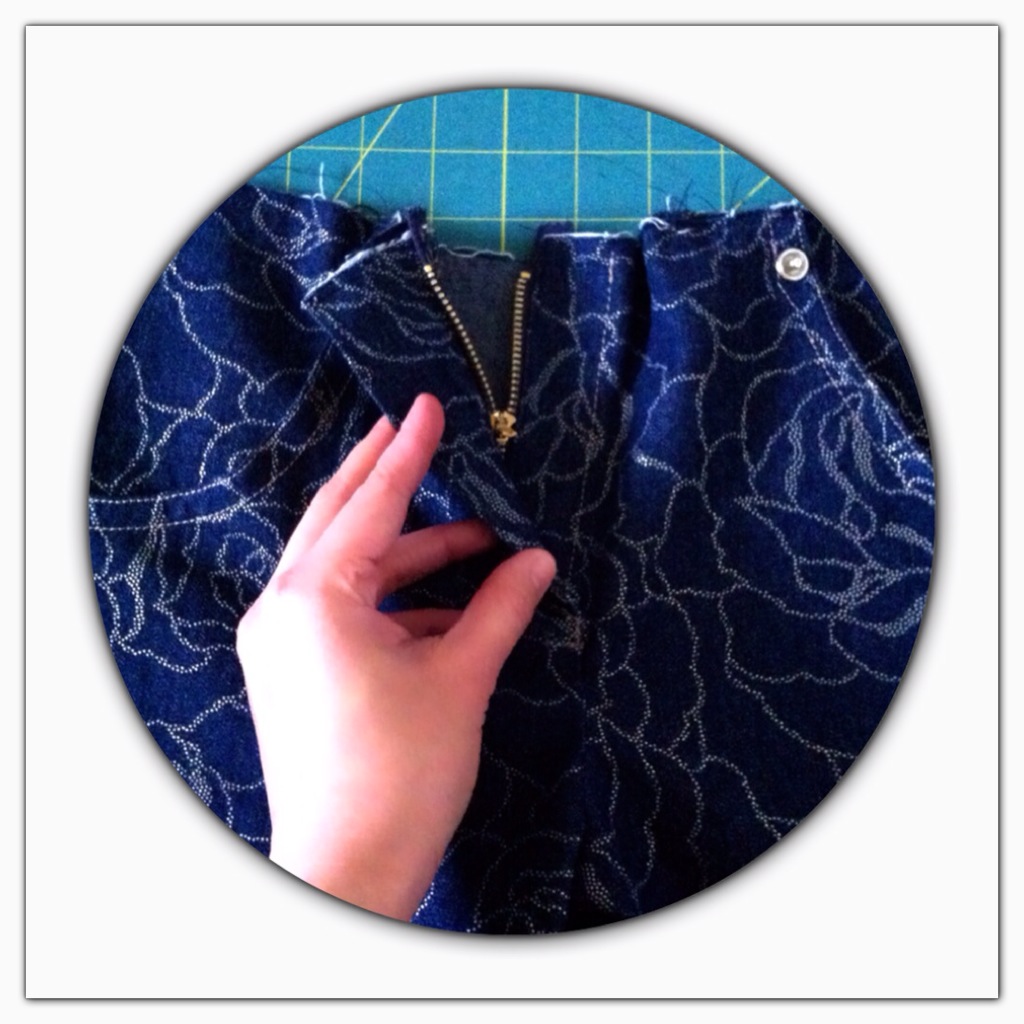
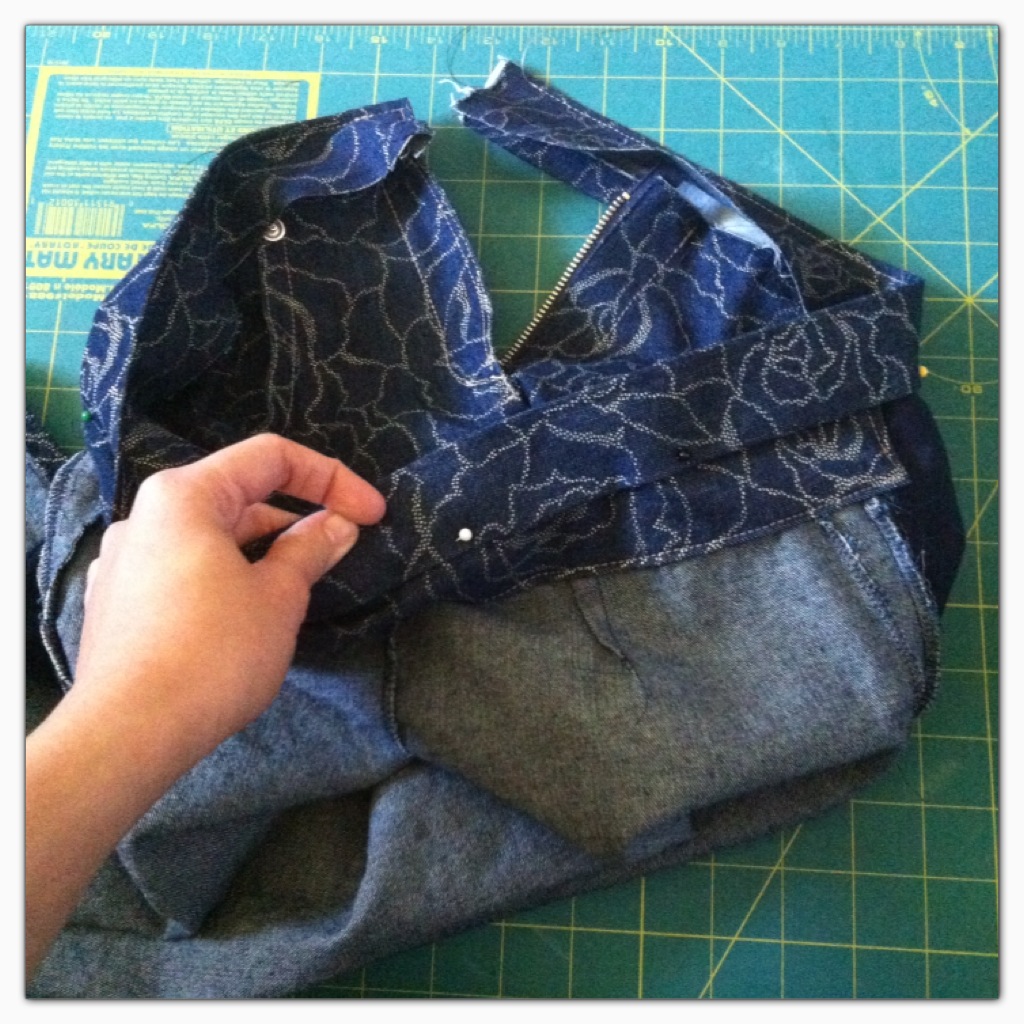
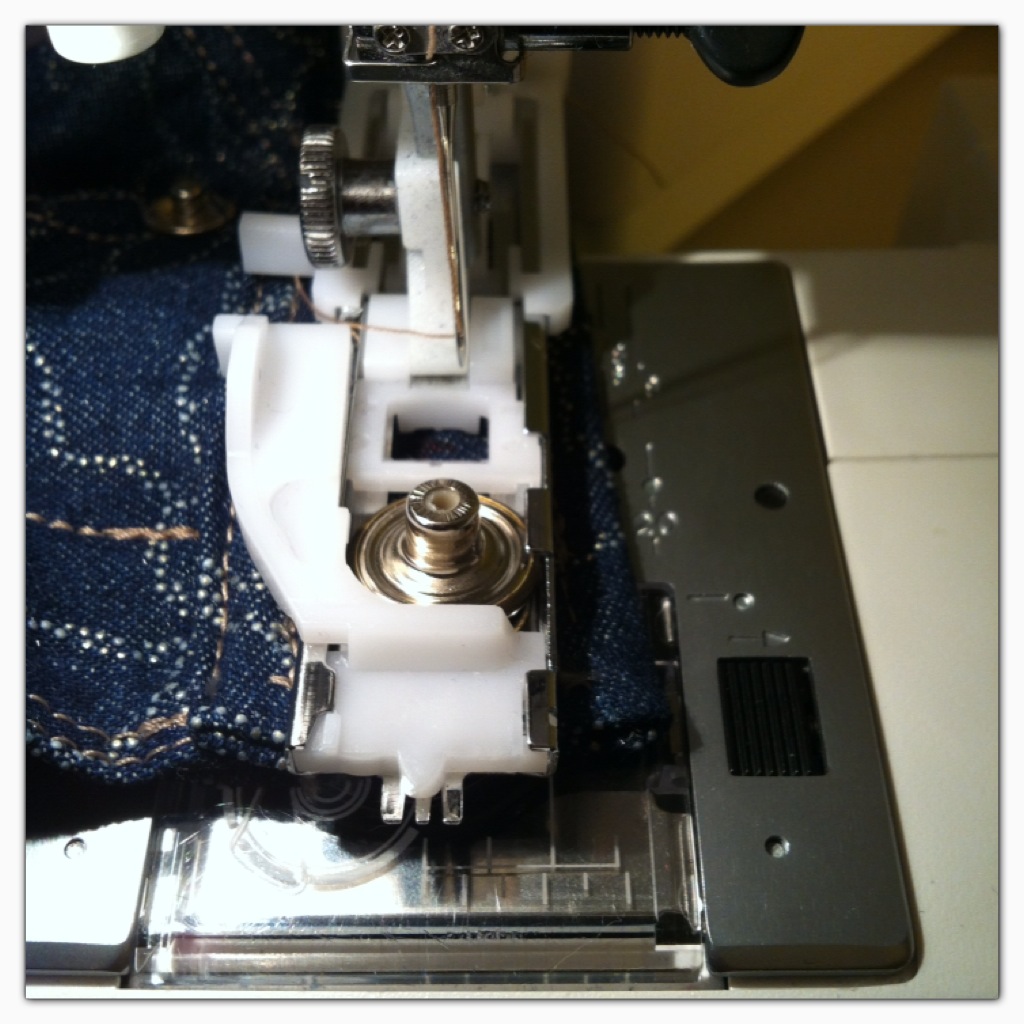
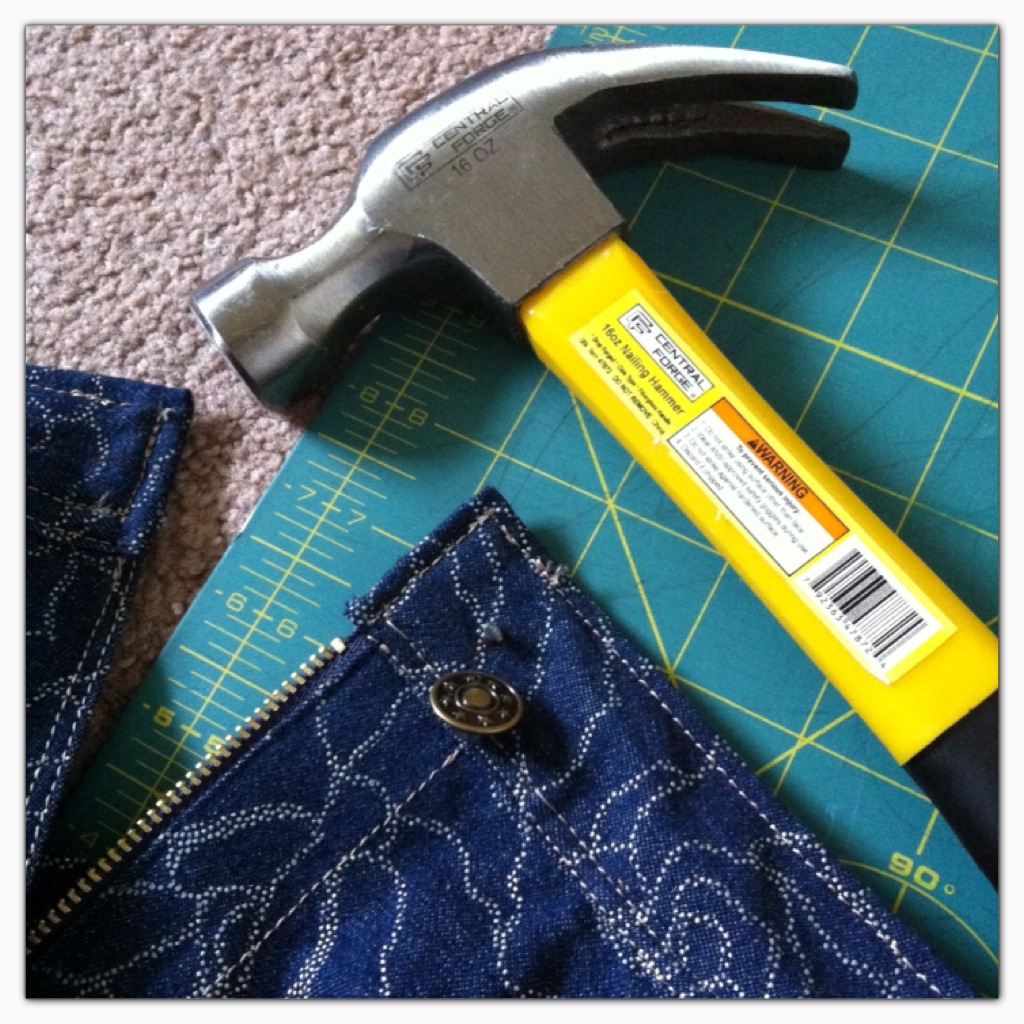
I drew a happy pumpkin face, transferred them onto my felted fabrics. I stuck them in place with fabric glue. Sewn them in place to secure, after my zipper was installed.


I made this stem and leaves to decorate my hoodie.


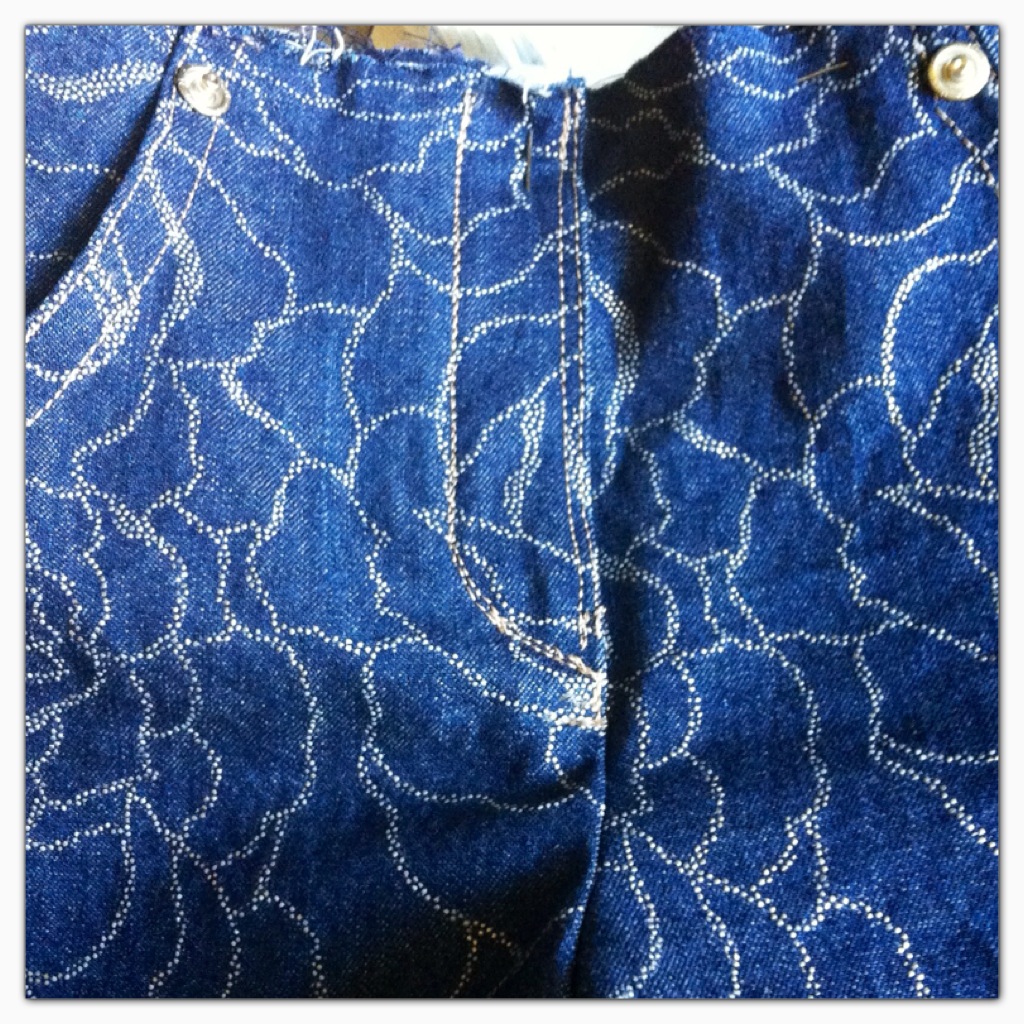
Then finished them with some hemming. And that’s it a Halloween costume for under $10.00! Scored!


See you in my next look for less project. Thanks for reading!


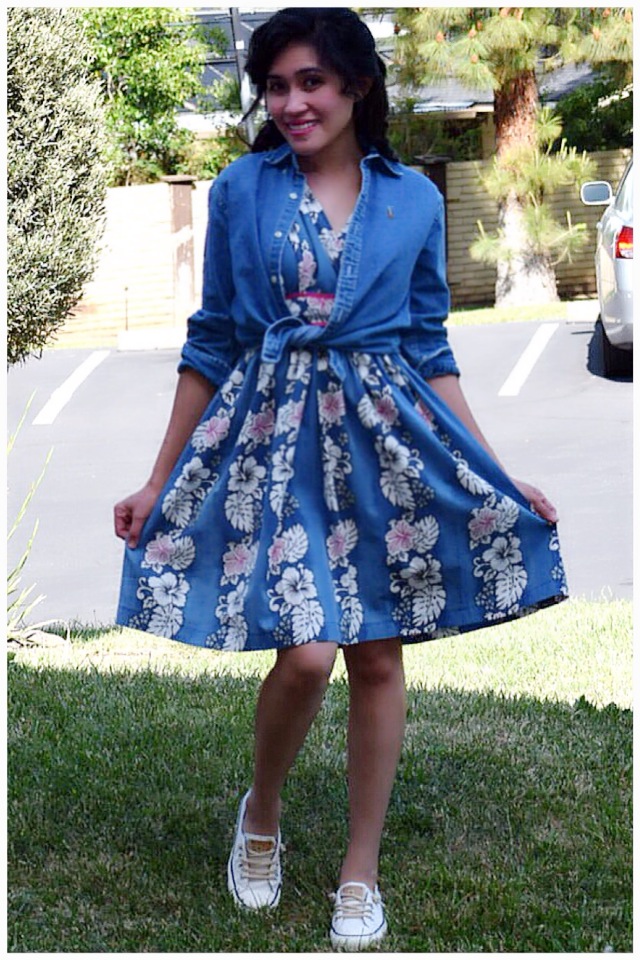
![IMG_3773[1]](https://sealedwithastitch.files.wordpress.com/2014/07/img_37731.jpg)


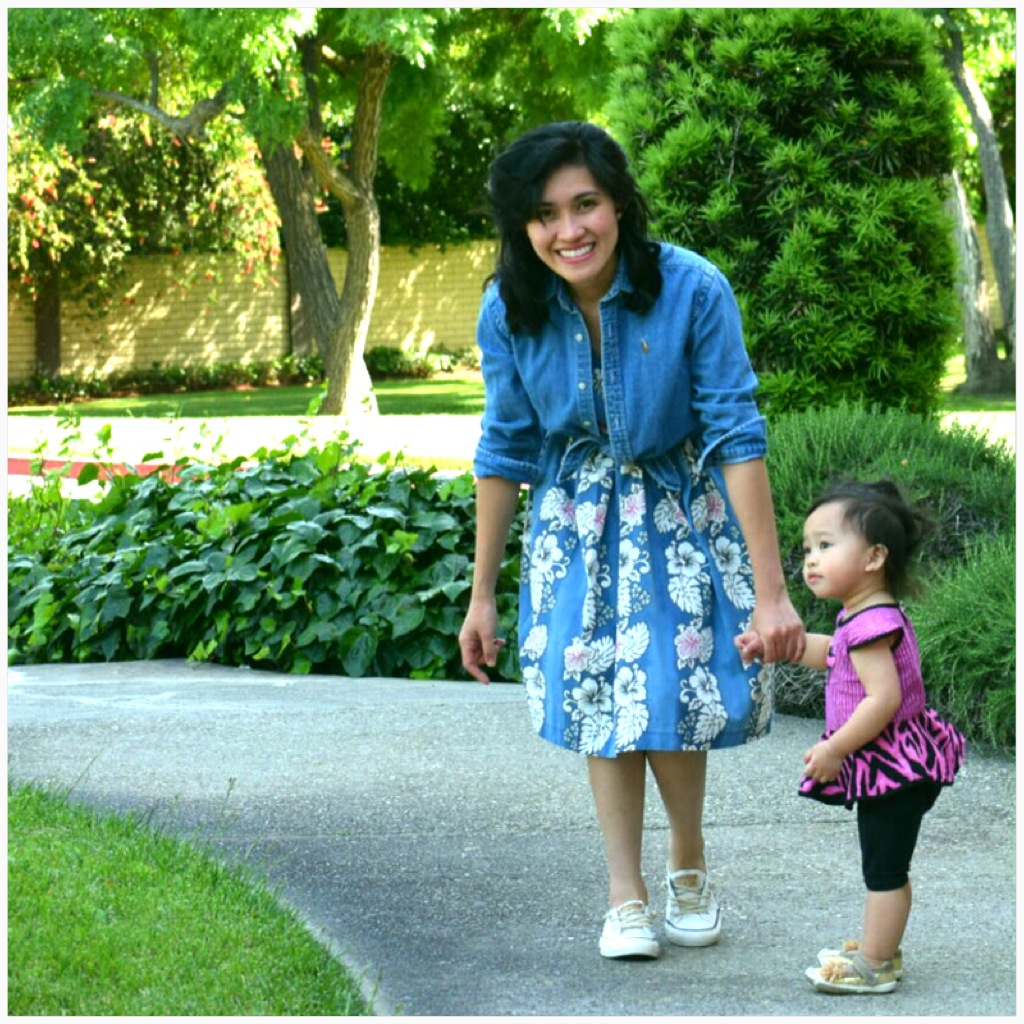
![IMG_1959[1]](https://sealedwithastitch.files.wordpress.com/2014/05/img_19591.jpg)