Homemade gift idea…

Leave a comment

Whether you’re getting an early start on holiday prep or you know someone with a birthday coming up, there is nothing better than a handmade gift drawn and stitched with love. Did it occur to you that you will be saving some bucks, as well? Reroute your holiday or birthday shopping for a change and learn how to make a gift instead of buying one. This project requires a very little drawing and sewing skill. Brand new shirt (I bought a pack of 9 piece-hanes shirts, still a good bargain! hehe). Paint marker. And just a little amount of time. Let’s get started!

Ready, set, sew!

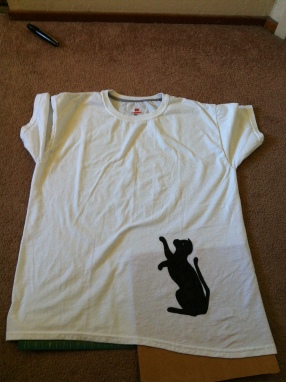
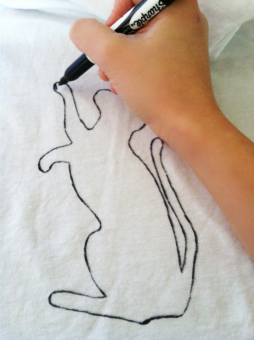
Step 1: When making graphic tees, you don’t wanna make a mess so you always want to sketch it with a pencil first, (unless you’re a pro of course or you have a stencil handy). Then trace it with your marker like so…

IMG_7992

Step 2: Shade and it should look like this…

IMG_7958

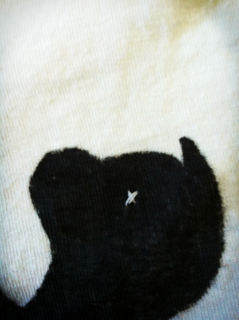
Step 3: To create your cat’s eye you simply hand sew an X like so…

IMG_7965

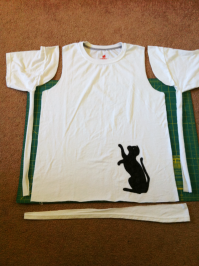
Step 4: Resize, reshape, remodel to your hearts delight!

IMG_7993

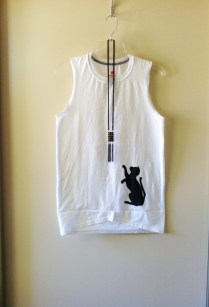
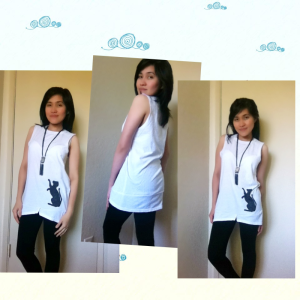
I’d like to make something that I could pair up with leggings so I made something that looks like this… (Put it on with a long bling)

IMG_7994

and…

IMG_7991

Tadaaa…. what an illusion! would you agree? A cat playing with your long necklace!

keep it or gift it? hehe till next lovelies!

Thanks for dropping by!
Two men shirts = One couture dress!

Leave a comment

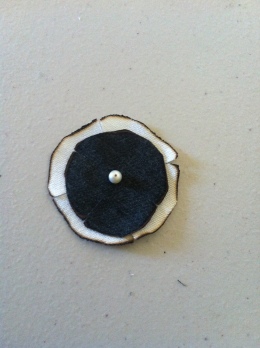
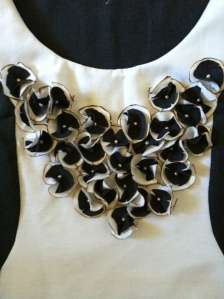
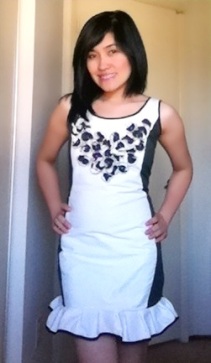
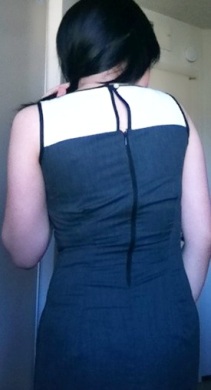
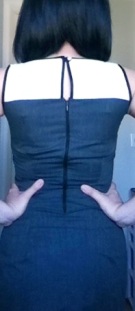
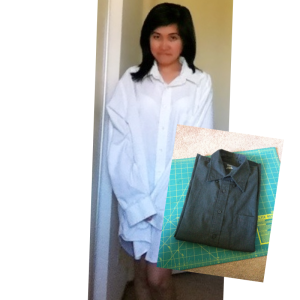
Feel free to let your creative juices flow this autumn and make yourself a couture dress out of 2 man’s shirts. The burnt fabric rosette is a beautiful option for a DIY fall inspired applique’ topped with pearls creating a great color scheme and pattern perfect for the season!

Ready, set, sew!

IMG_7555

IMG_7581

IMG_7649

IMG_7643

IMG_7646

IMG_7645

IMG_7648

IMG_7654

Before:

IMG_7653

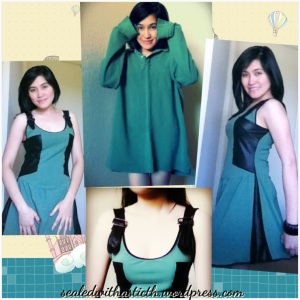
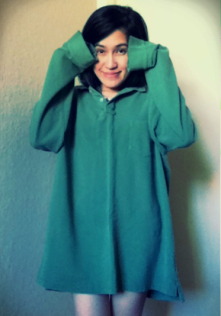
Turn your man’s old jumper into a stylish skater dress!

Leave a comment

Supplies:

Too large man’s jumper
Buckles
Faux leather scraps (optional)

IMG_7476

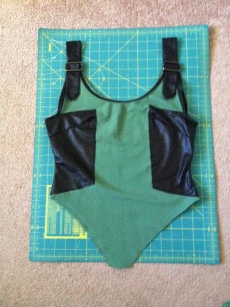
I love this dress! You can easily wear flats for a low key look or dress it up with heels… Go for an edgy look by adding black booties and leather jacket in the evening.

I used my husband’s “don’t want to wear jumper”, he’s just not a fan…

IMG_7336

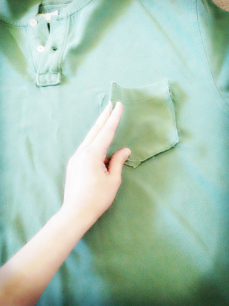
Start out by dissecting your jumper. Carefully remove the pocket if there’s any…

IMG_7425

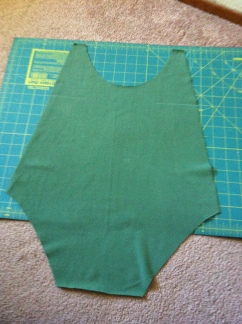
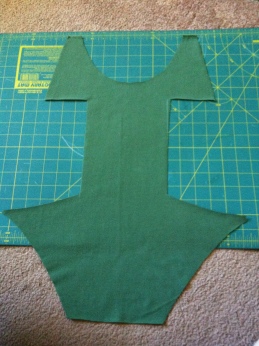
Then cut off the sleeves to serve as your front and back bodice…

IMG_7351

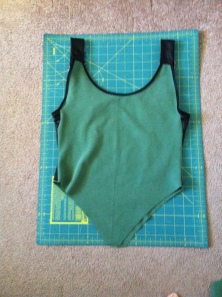
Cut out a scoop neckline on the front and back bodice as desired.

IMG_7352

Then create cutouts on the front piece like so…

IMG_7353

Ready, Set Sew!

I took some faux leather scraps then based its measurement from the front cutouts leaving half an inch seam allowance. As a rule of thumb, sew them on right sides together. Also, I sewn a 20″ tube for the straps and divided it into 4 (adjust it to your desired length). Attach the buckles in place. Sew the front and the back pieces together.

….Sorry no pictures… Nia says sorry too! she accidentally erased the pictures from mommy’s phone ;D….

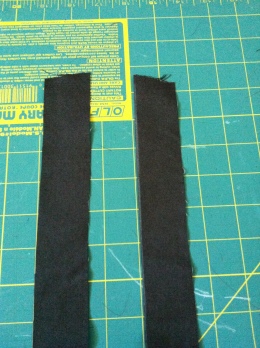
Next step, make your own bias tape! or you may opt to buy from the fabric store it’s a lot easier hehe… But, here’s how I made mine… Grab some fabric scraps of your choice and since my motif’s green-black I used black fabric. Now take your ruler and measure a 1.5″ width. For the length, the longer the better.

IMG_7365

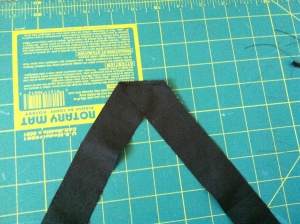
Since my fabric’s not long enough I had to cut few more strips to elongate the tape, sew them together like so…

IMG_7366

then press the seam open

IMG_7367

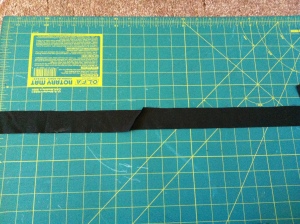
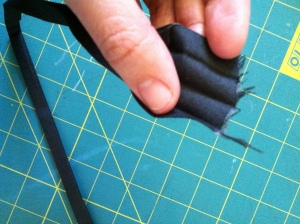
Fold it in half and press. Then again fold the half of each side, in half. Basically you are folding it four times towards the inside. It looks like this…

IMG_7368

You can now sew the tape on the dress’ raw edges.

IMG_7358

IMG_7359

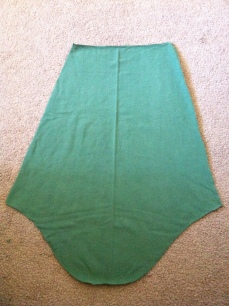
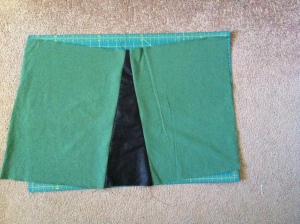
Cut across your jumper’s armhole, this will serve as your skirt. I wanted a detailed skirt so I cut the skirt in half. Cut out an isosceles triangle shape from my faux leather scraps then sewn the trim onto each side of the skirt and it looks like this…

IMG_7360

Lastly, sew both sides of your skirt together, gather then sew it on top of your bodice and your skater dress is complete! (Check out my other dress tutorial for the step by step guide)

I hope you learned another sewing technique with this fall inspired look and until next diy look for less loves!