Denim is a girl’s best friend. It is the most versatile wearable piece a woman must have. A laid back basic perfect for those “I don’t want to think about what I’m wearing days” and truly we always look for a pair with a good fit. One that’s not too tight but not too loose. One that’s not too long but not too short. A perfect pair of jeans! Ever struggle to find one?
The best thing about sewing your own clothes is that you can absolutely make sure they fit. In this case a pair of jeans. However, integrating a zipper fly is no joke I’m sure y’all agree and I’ve never tried using commercial patterns. Thus, I came up with a very simple sewing technique every seamstress might want to know. How to integrate a zipper fly without using any commercial pattern. So, grab your supplies and let’s get started.
Ready, Set, Sew!
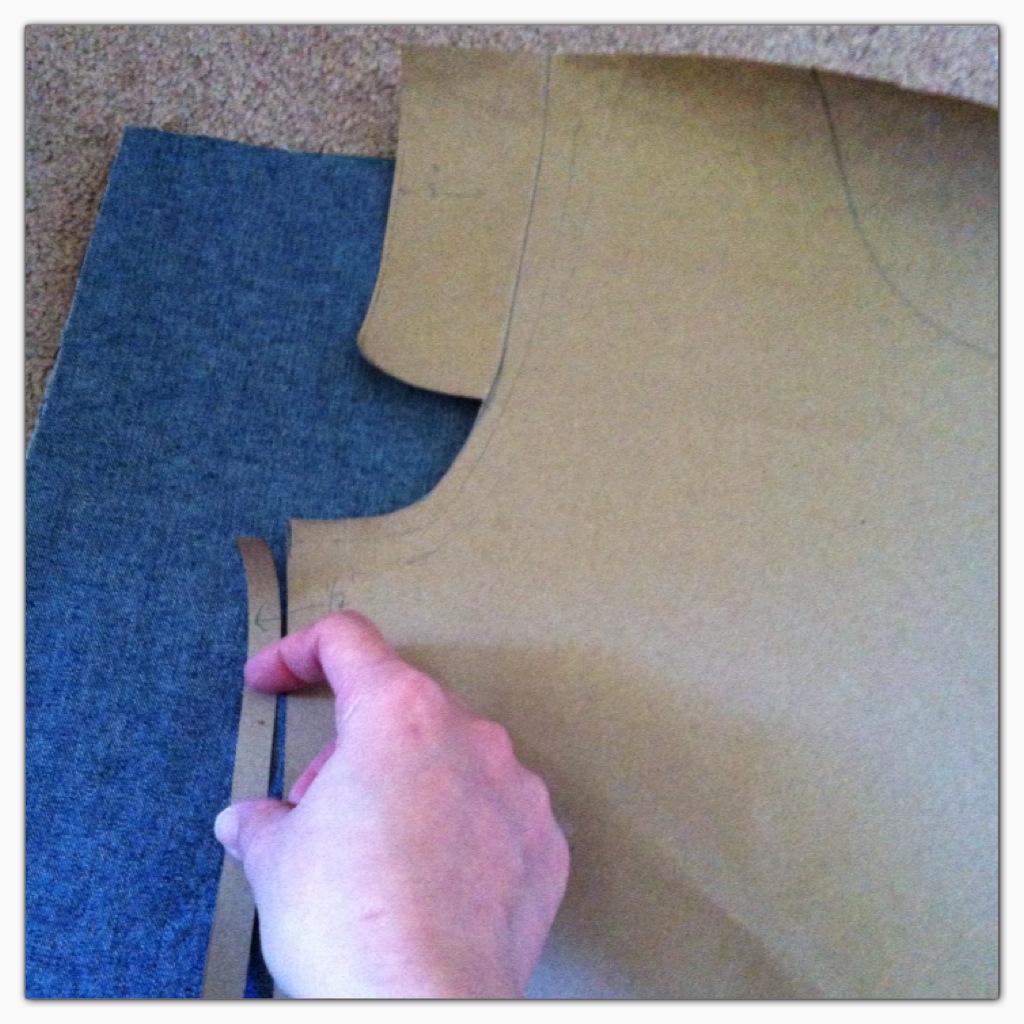
Take your brown paper and start tracing your favorite pair of jeans…

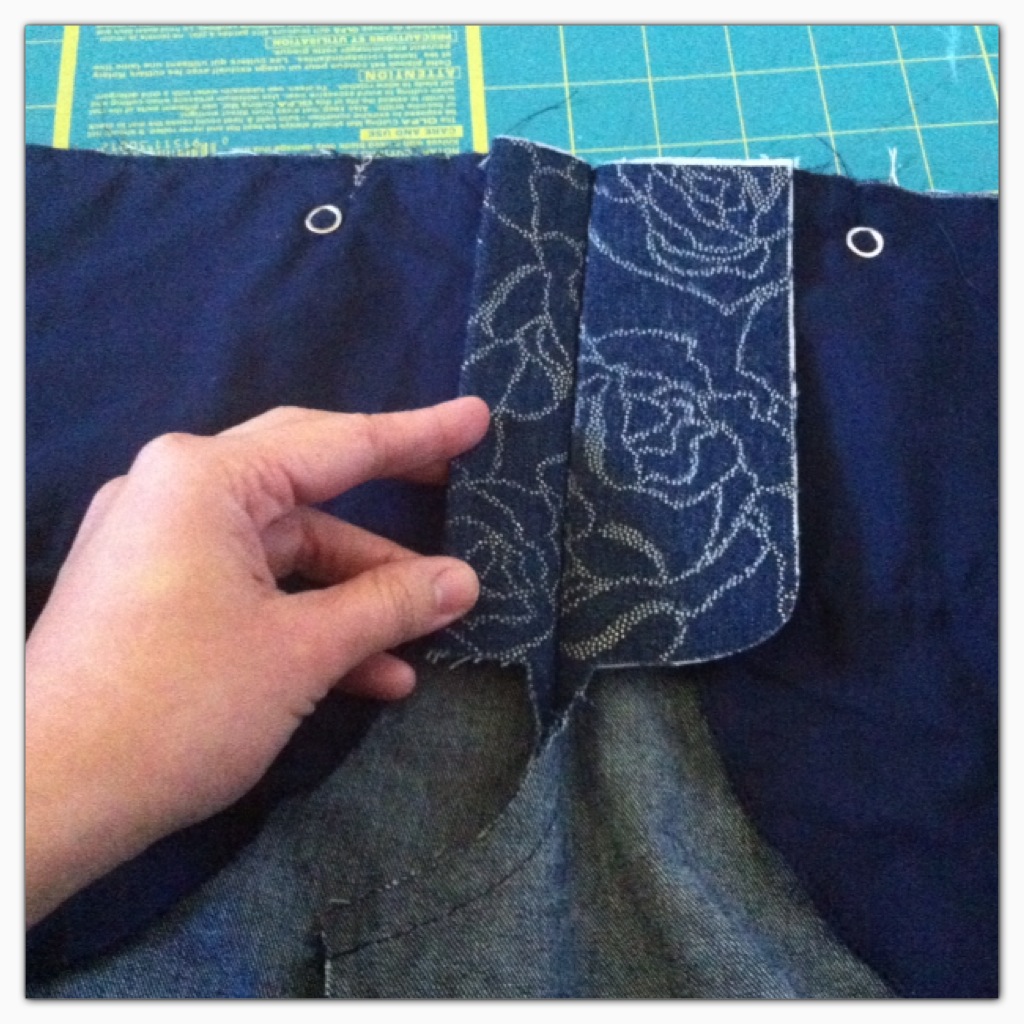
Note that you need to integrate a 4 by 2 inch-flap thingy in your drawing which will serve as your fly, extending the inseam by half an inch.

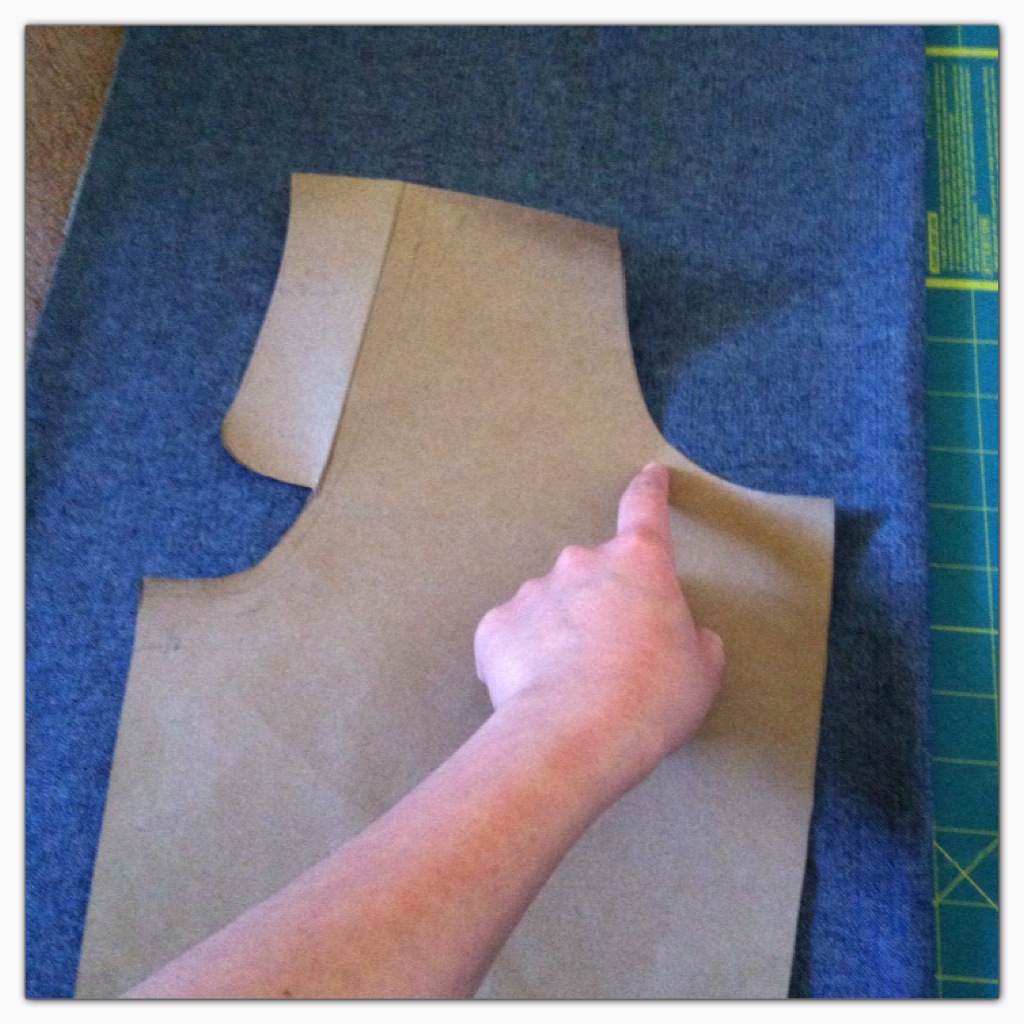
Move away the flap by folding it in, following your marked line like so…

Now trace your pattern unto your fabric then start cutting out 2 for the back pieces.
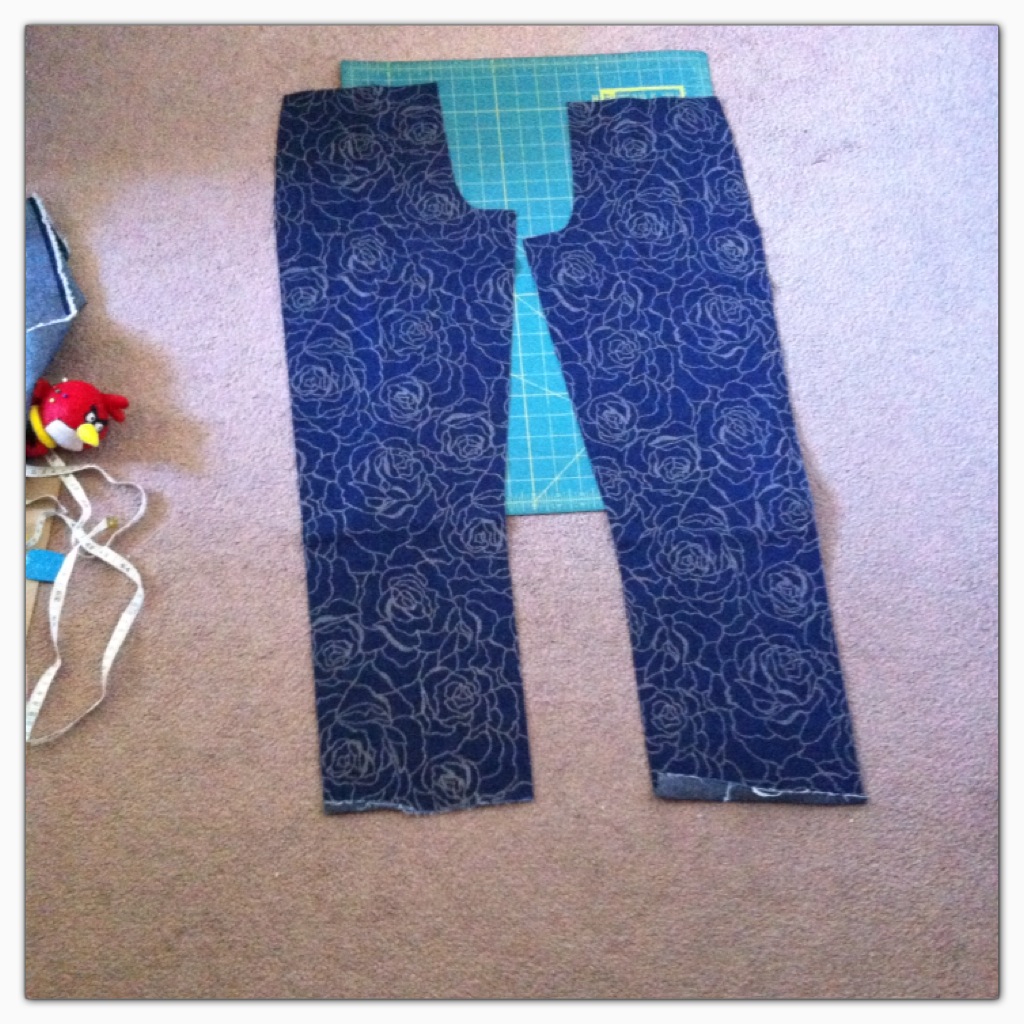
Now you’re ready to make the front pieces. Cut out the extended inseam.
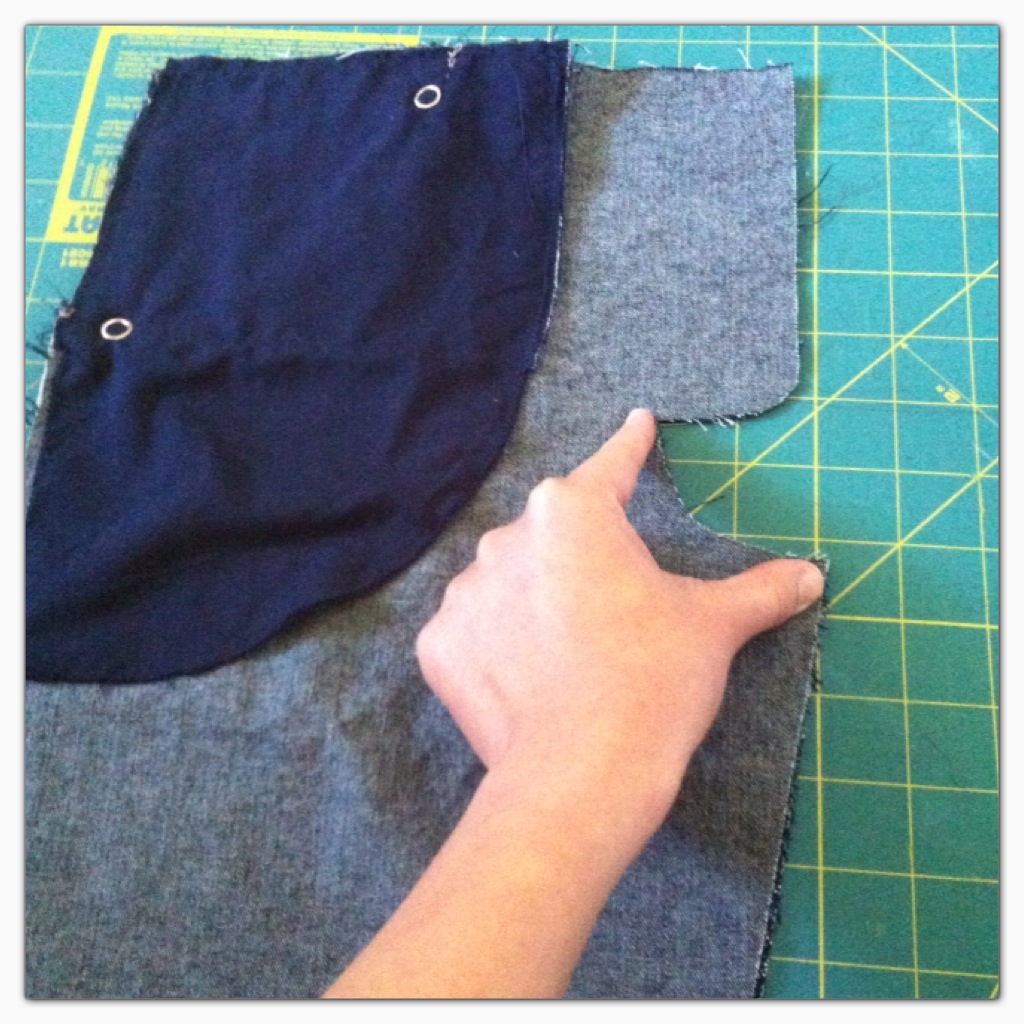
Cut out a side pocket if desired…
Trace the pattern unto your fabric then cut 2 pieces
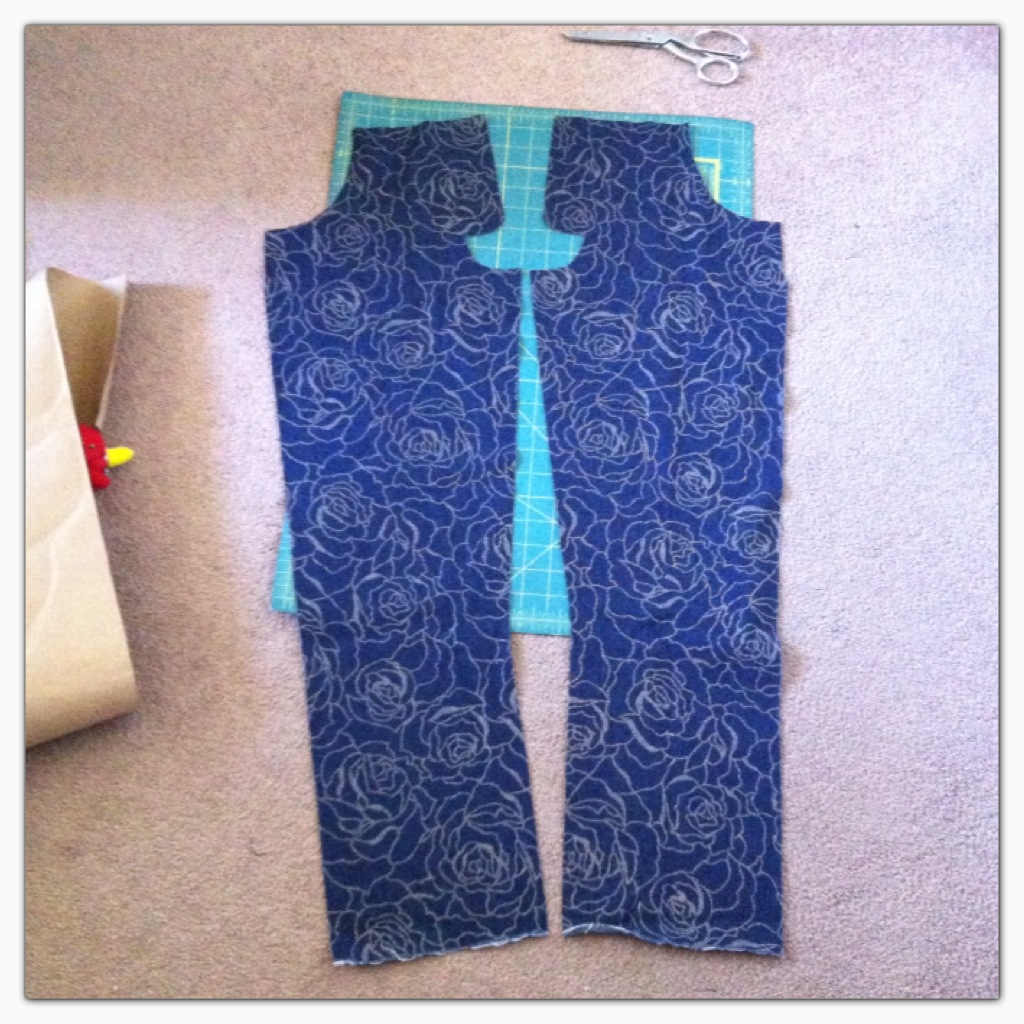
Now you should have 3 sets of pattern pieces
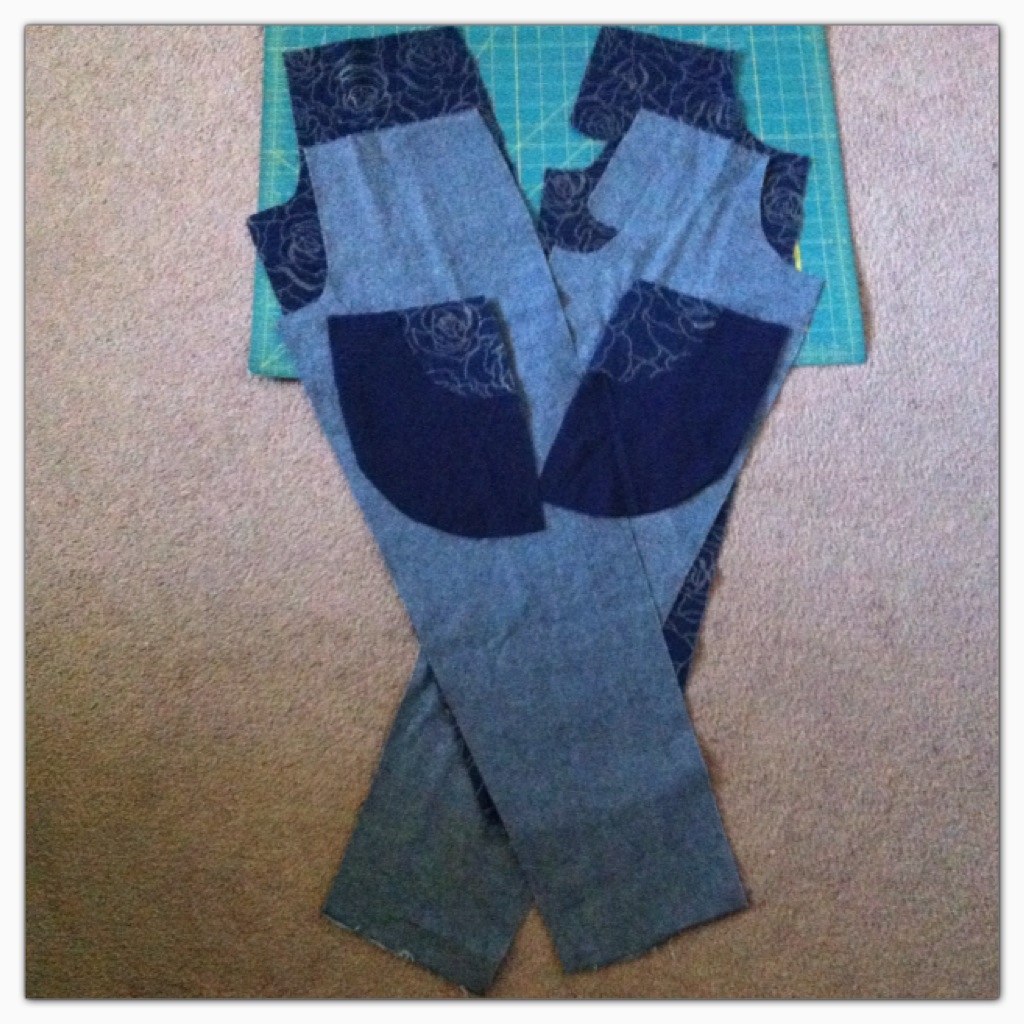
The front, back and the side pockets (please refer to my zara skort imitation tutorial to make your side pockets).
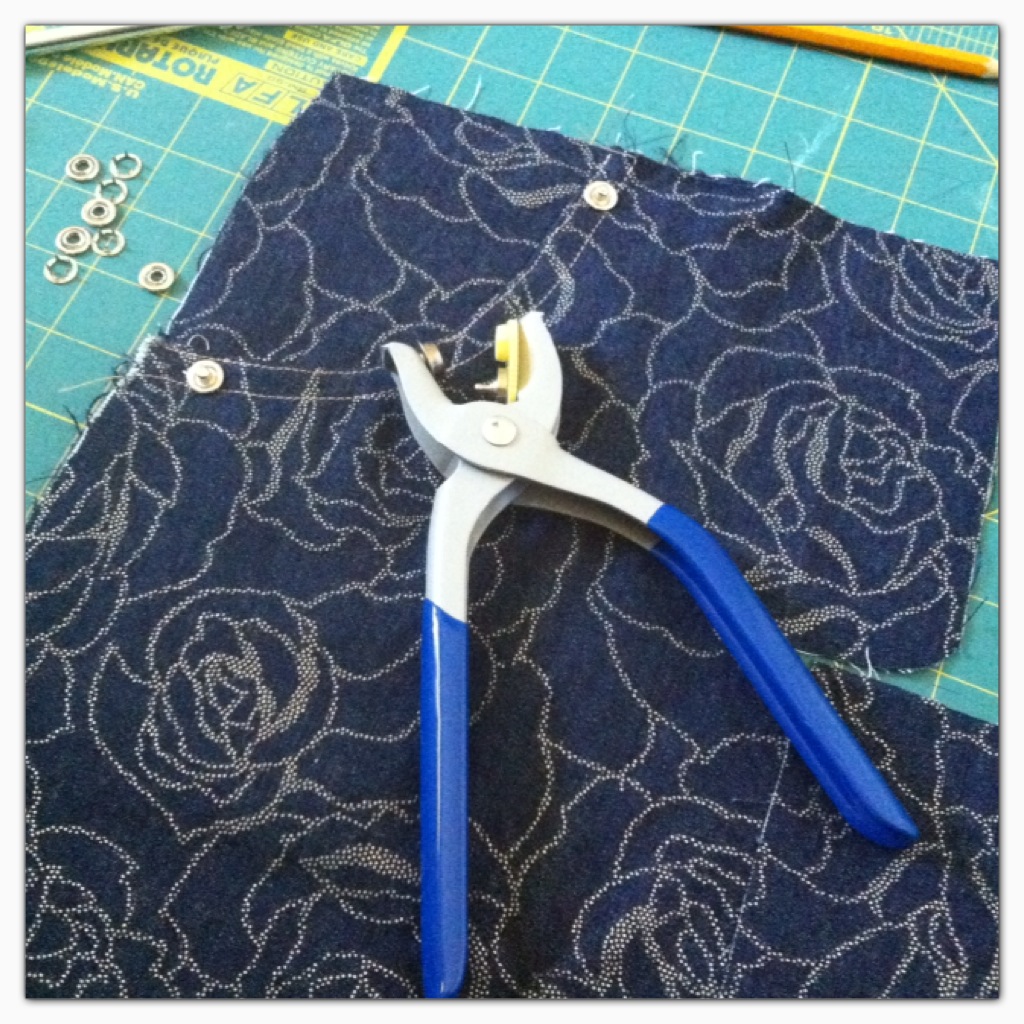
Optional: Just like a regular denim, you can place some grommet to decorate the side pockets like so…
Once done, all you gotta do is line your front pieces right sides together then sew a basting stitch unto the fly front opening. Then sew a regular stitch along the curve leaving a quarter of an inch seam allowance…
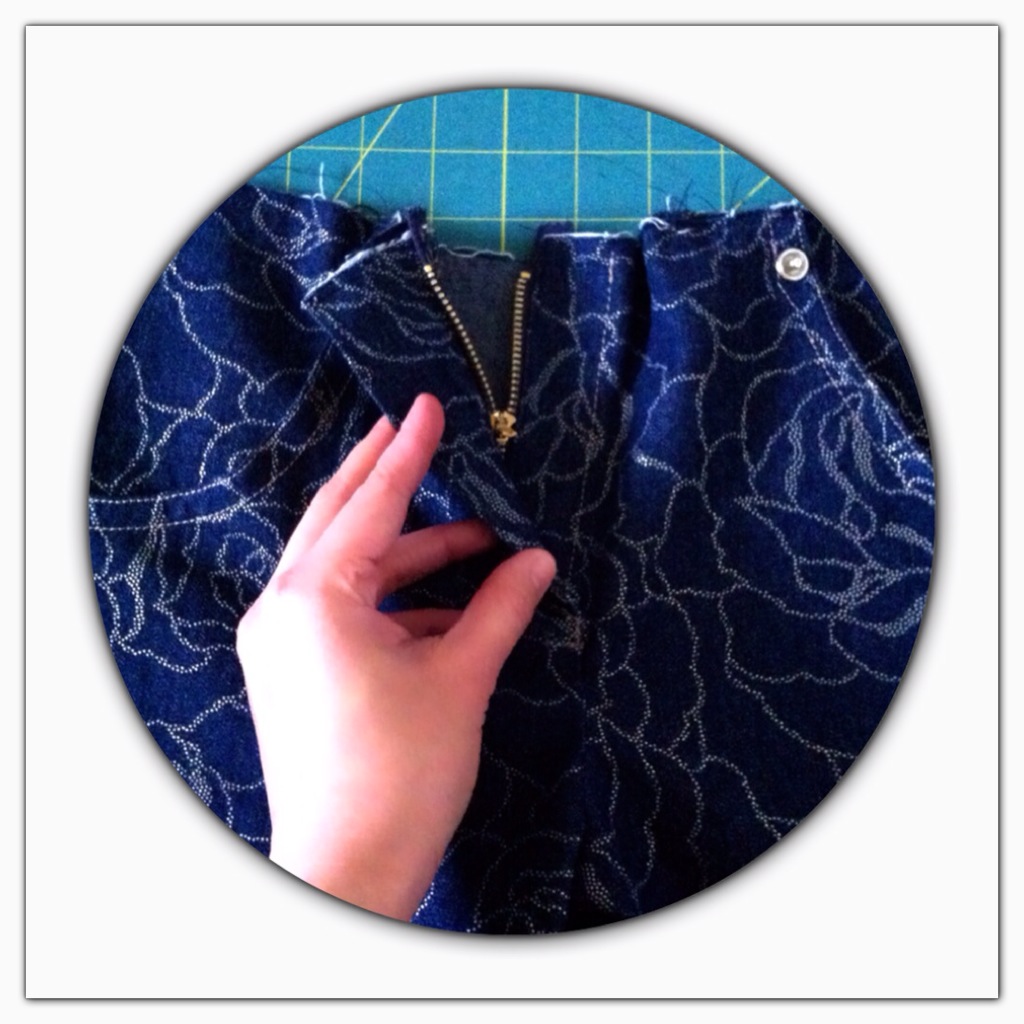
Once done, it should look like this…

With the wrong side facing you, fold in the left flap in half.
Next, remove the basting stitch from the flaps then pin down the zipper on the folded side like so…
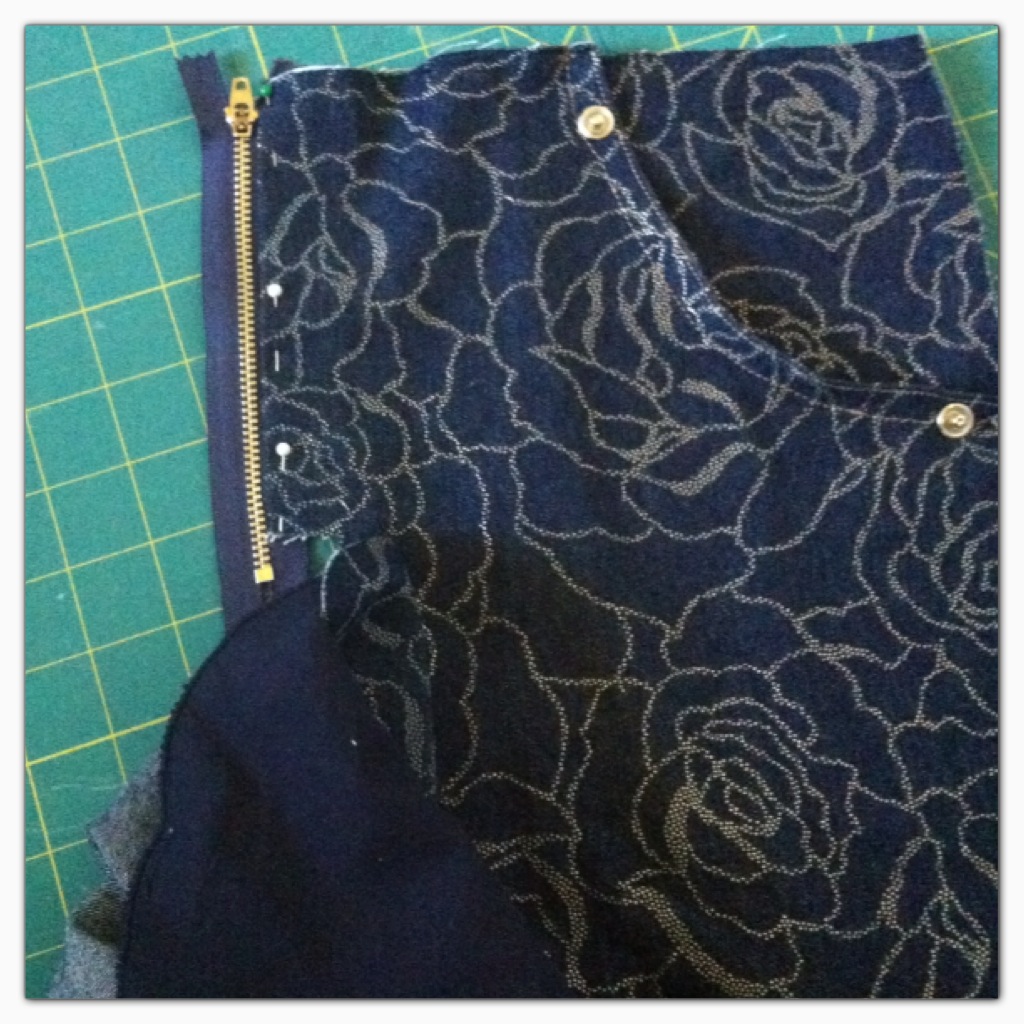
Flip your front piece up with its wrong side facing you, then pin down the non sewn zipper tape on the overlapping flap. Sew along the pinned lines making sure that the pant leg is out of the way…

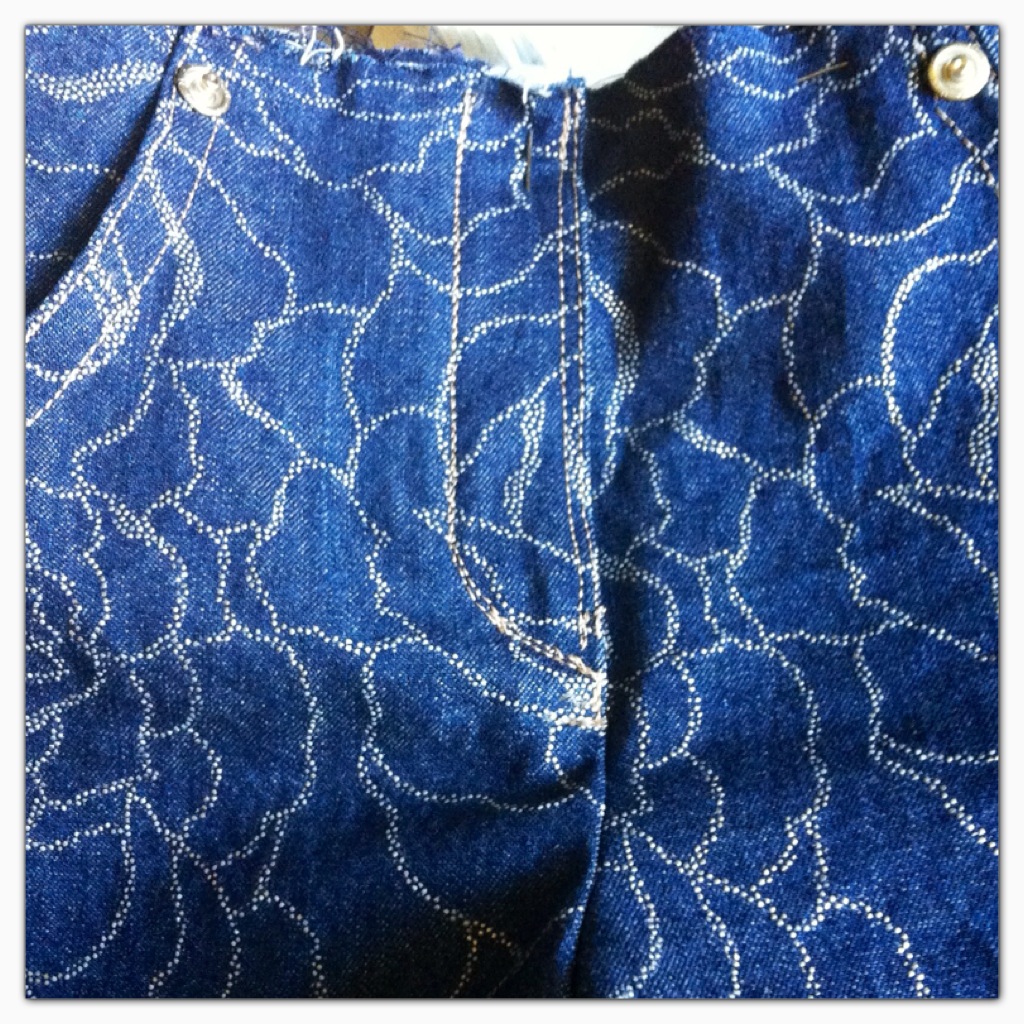
Then sew a curve line right next to the zipper fly like so…
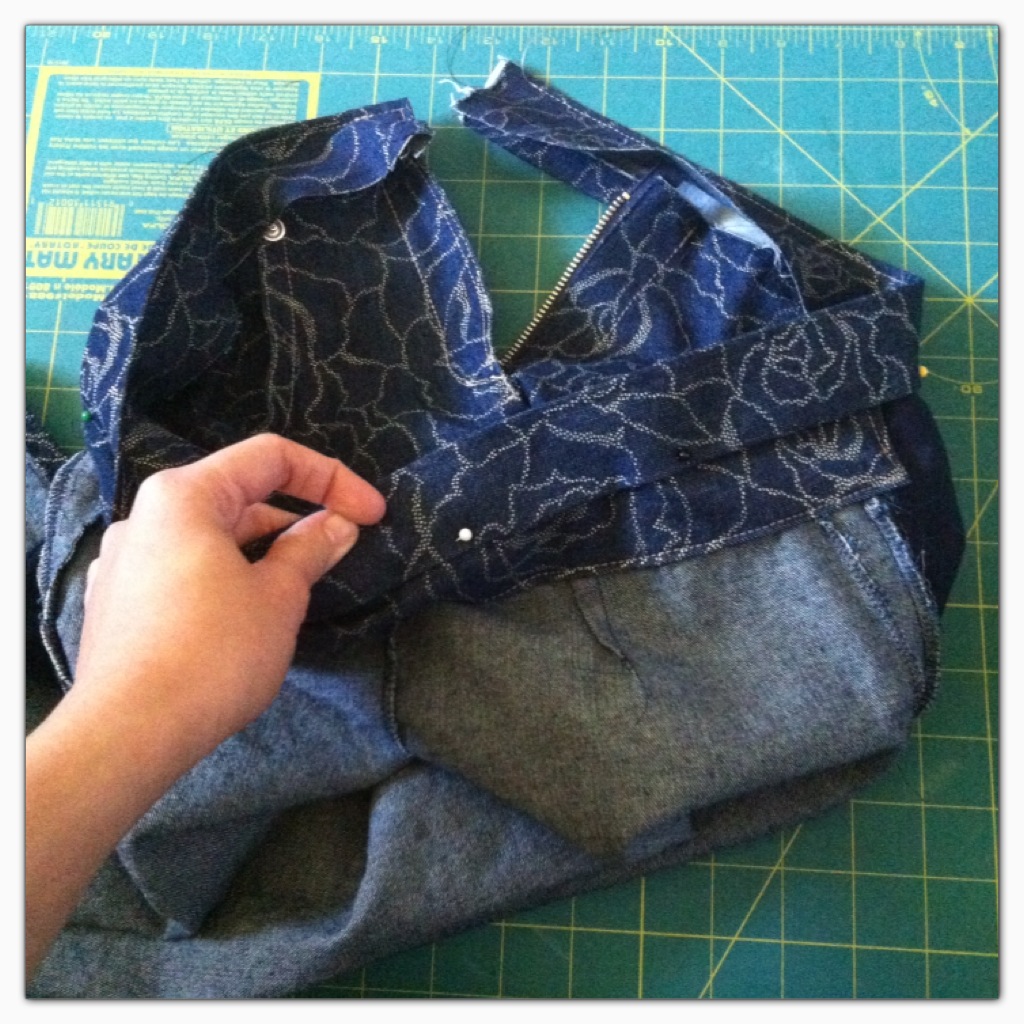
then sew the back and the front pieces altogether (please refer to may zara skort imitation tutorial or harem pants tutorial for similar instruction) it should now look like this…
create and attach a waistband
then make a button hole once done
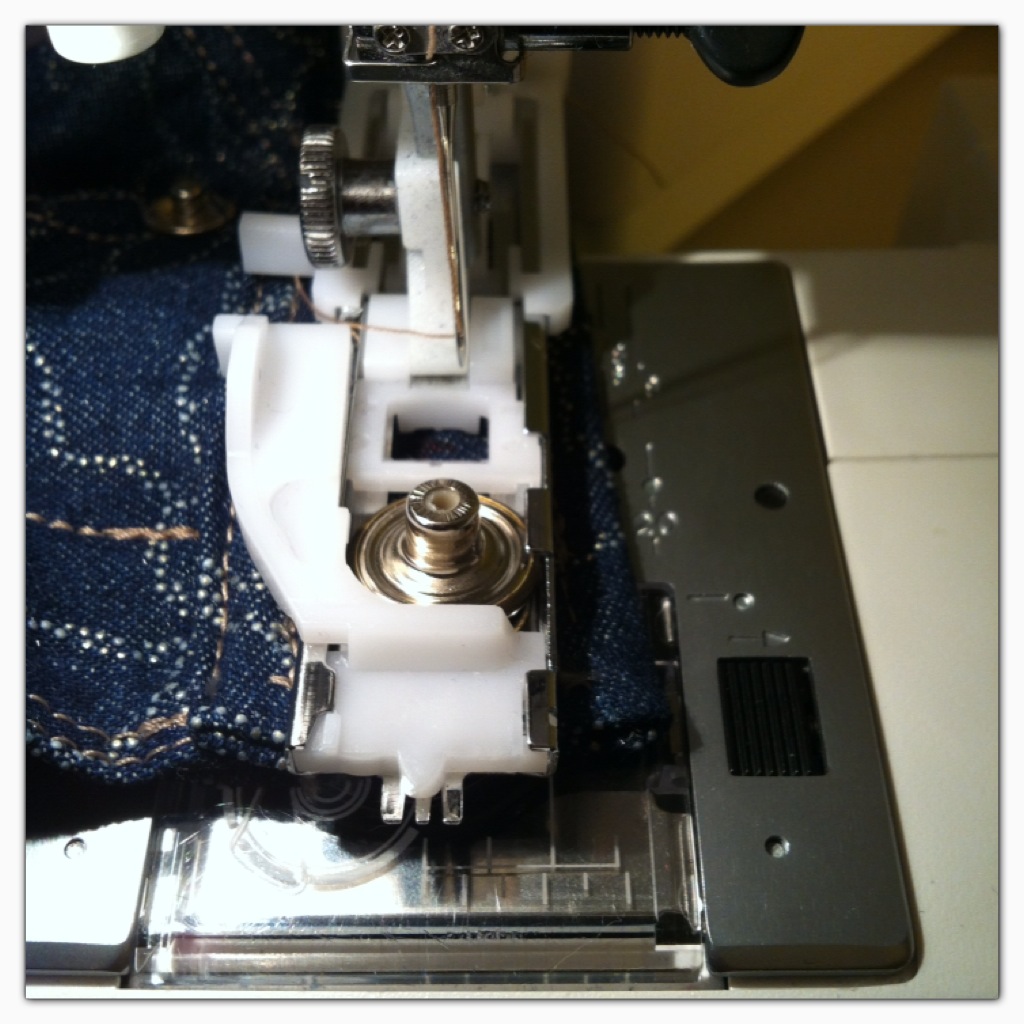
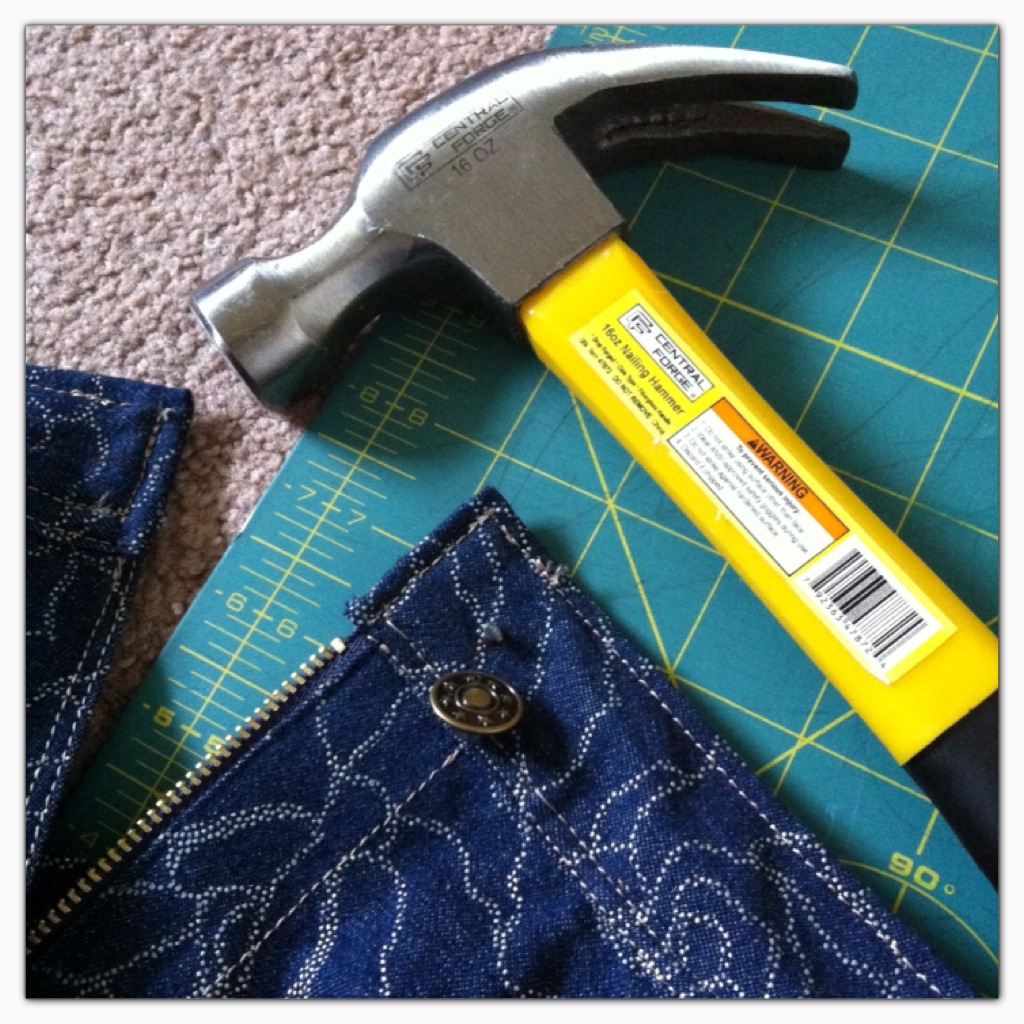
attach a jean button

and you’re done!

Till next DIY look for less loves!

Hello! 🙂
Great DIY! 🙂
I wonder what’s your job? Are you working in a fashion-related field? 🙂
That’s flattering thanks! wish I do though haha but I’m just a regular 24/7 wife and mom loving the art of sewing just like you? if I may guess *hugs*
Did you just make making jeans look easy. OMGoodness. I think you just gave me a bit of courage to try this. I may start with a pair for my daughter. We will see. Great job!
aw! thanks! glad I could help love 😀